Posting To Your Blog, A Quick Video Walkthrough

Justin Babcock • Jul 15, 2022

We all know that blogging is a powerful way to build your brand and engage with your audience. However, blogging can also be time-consuming and difficult to manage.


Luckily for you, we have some solutions.


Once you've got the content piece of the equation covered, you are ready to post.


If you have an account with us, follow the steps below. Otherwise, click on your website editor for instructions.


Watch our video below to see how easy it is to post to a blog, and follow along with our written instructions.

Step 1: Go to your Marketing Launchpad account. If you don't have an account, use our demo account.


Step 2: Scroll down to the Write A Post section. Left-click on the Evernote logo, and open your post copy.


Note: if you haven't written anything to go along with your YouTube video, head back to the "write a post title" section and follow the instructions.


Step 3: Scroll down to the Create an Image and/or Video section. Left-click on Canva, and download your image and video.


Note: if you haven't created a video an image, head back to the "Create an Image and/or Video" section and follow the instructions.


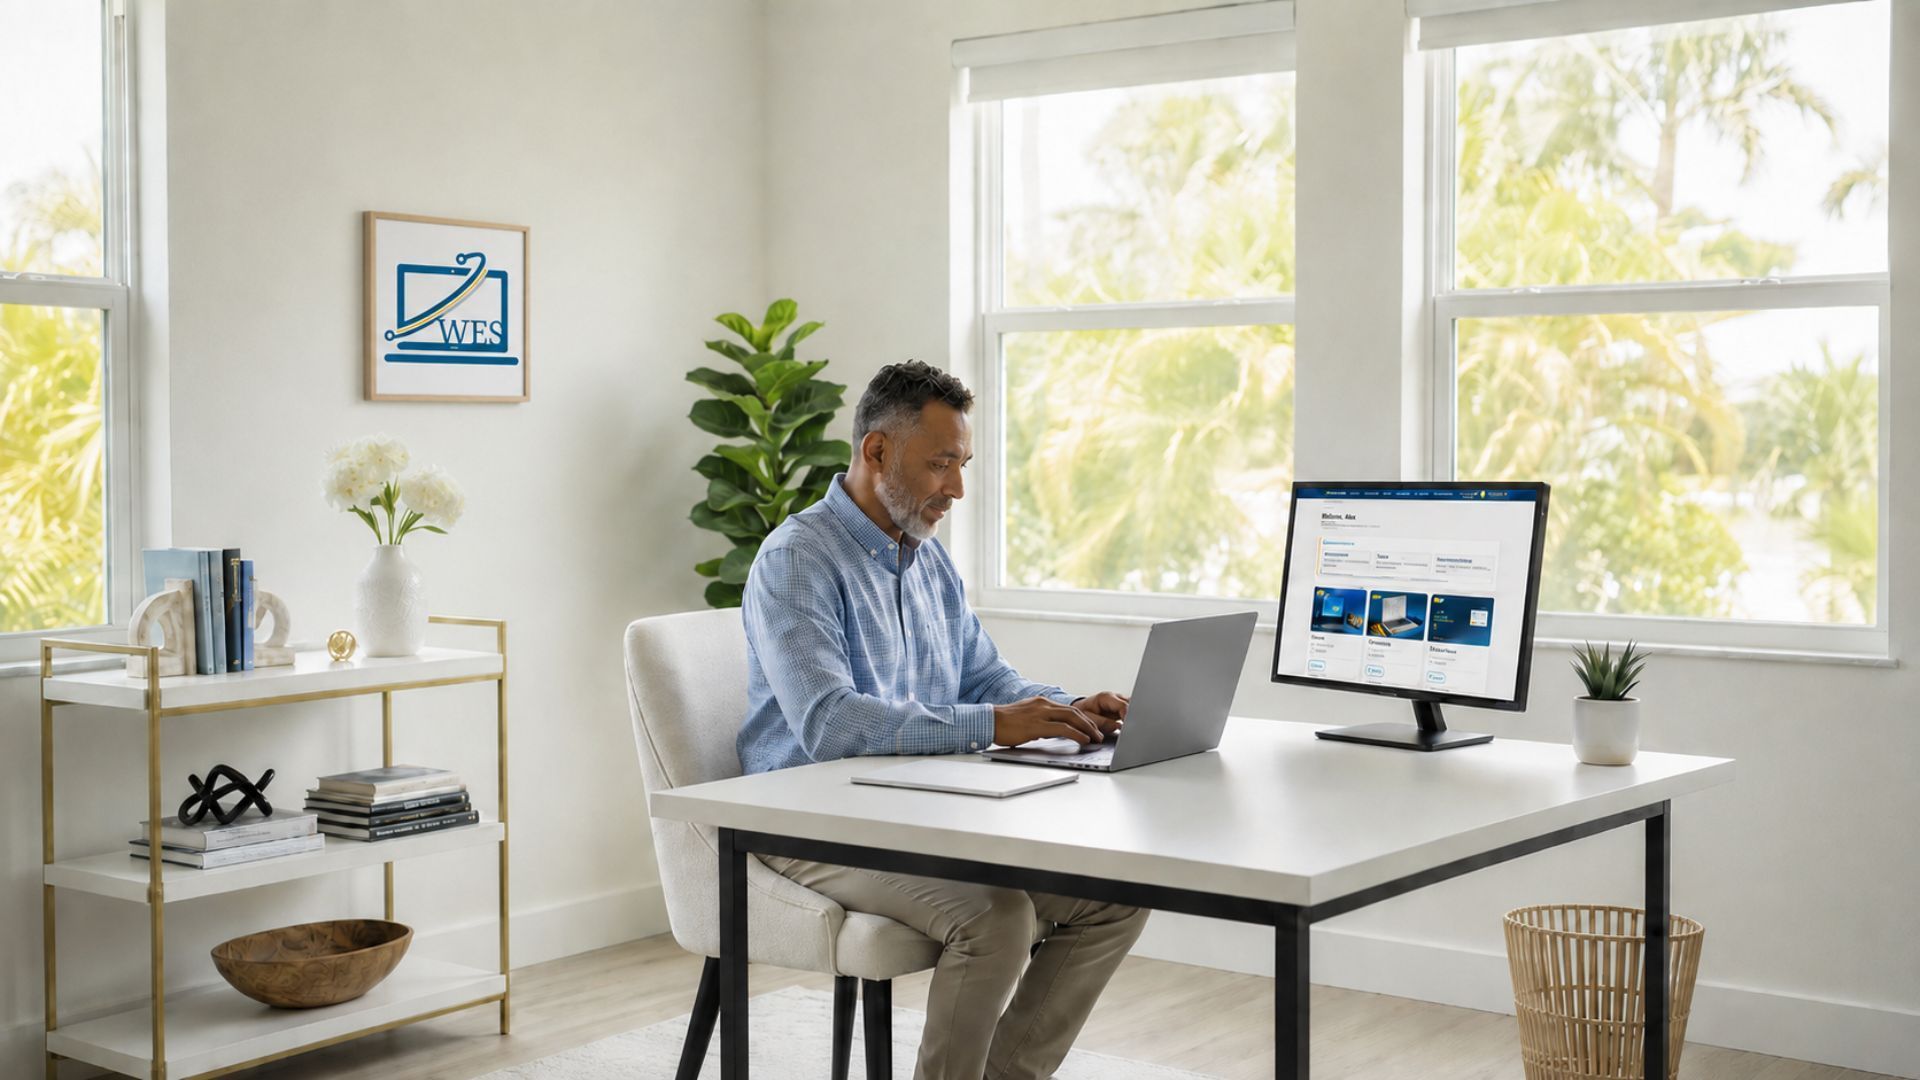
Step 4: Scroll down to the Blogging section of the Marketing Launchpad. Left-click on the WES icon.


Step 5: Left-click on the blog icon in the left-hand menu about halfway down the screen.


Step 6: Left-click on the duplicate icon next to your most recent blog post. It is the fourth icon from the left, next to the trashcan.


Step 7: Delete the title from your previous post. Copy and paste your new title into the title field.


Step 8: Left-click on the replace button next to the image. Left-click on the upload image button. Select your image. Left-click the done button in the lower left-hand corner of the pop-up.


Step 9: Delete the text from the old post. Copy and paste in the text from the new post. Replace images and videos if needed. Left-click on the publish button in the upper right-hand corner of the screen.


Step 10: Left-click on the gear icon at the top of the screen. Left-click on the copy button, and paste the blog URL into your notes.

And just like that, you have posted to your blog.


If all you need is our written instructions and video, great! If you would prefer to have a marketing instructor show you what to do, it might be time to schedule with us.


Our marketing instructors are experts who specialize in showing you how to create content, post, and analyze your efforts.


Click the links below to learn more about our training programs.


Or schedule a Marketing Launchpad Demo today.

Want more helpful DIY Marketing articles delivered to your inbox? Click subscribe and join our DIY Marketing Squad.

The Marketing How-To Blog

By Justin Babcock 04 Oct, 2023
In the complex world of business, understanding the distinction between market behavior and marketing actions is paramount. Often, newcomers to the marketing realm are confounded by the unpredictability of the market and how it sometimes seems to defy their marketing efforts. A simple, yet enlightening analogy can help elucidate this - think of the market as the weather and marketing as farming.
By Justin Babcock 18 Jul, 2023
A website isn't just a nice-to-have for businesses these days, it's a must-have. A well-designed website enhances your brand's online presence, paves the way for customer engagement, and business growth. In this article, we explore the 7 qualities you should look for in a New Port Richey web designer. We will also introduce you to Web Education Services - a Google 5-star rated web design agency.
By Justin Babcock 12 Jul, 2023
In the ever-evolving digital landscape, establishing an online presence is paramount for every business. A well-structured and designed website can greatly enhance your brand's visibility and credibility. However, the process of creating a website can be daunting, especially when confronted with decisions like the cost of hiring a designer, how to find a suitable one, or opting for a do-it-yourself (DIY) approach using website builders like Wix or Squarespace. Making an informed choice can be challenging, but it's not impossible. Figuring Out Your Budget and Time: The Classic Decision Building a website involves an investment of both time and money. Hiring a designer can cost between $100 to $200 per website page, whereas setting up a website yourself might consume around 4 hours per page. It's a classic time or money conundrum that forces you to reassess your priorities. Do you have the design skills to build a website yourself? If not, using DIY applications may extend the time it takes for you to establish your online presence. However, if your budget is tight, investing your time into learning and implementing the process might be a viable option. DIY Website Builders: A Blessing or a Curse? Website builders like Wix, Squarespace, and WordPress have made website creation accessible to everyone, regardless of technical expertise. But are they always the best choice? Wix Pros: Wix offers an intuitive drag-and-drop interface and a variety of templates, which make it easy for beginners to create a website. It also provides advanced features for more seasoned users. Cons: The flexibility of Wix can also be its downfall, as the wide range of options can be overwhelming. Its SEO capabilities have been criticized, and the free plan comes with ads. Squarespace Pros: Squarespace is known for its sleek, professional design templates. It offers comprehensive features and excellent customer support. Cons: Squarespace's pricing is slightly higher compared to other builders, and the platform can be less intuitive for first-time users. WordPress Pros: WordPress offers incredible flexibility and control, with thousands of themes and plugins. It's a great choice for blogs due to its strong content management system. Cons: WordPress has a steeper learning curve compared to other builders, and you may need to handle updates and security measures manually.
More Posts
Share by: