Email marketing is still one of the most effective ways to reach your customers. It is simple, cost-effective, and if you have the right content, the ROI is amazing.
When I talk about email marketing, I'm not talking about SPAM emails. Those are emails that come from a stranger to a stranger. They are rarely effective.
Good email marketing is all about sending valuable content to your past customers and leads you've generated through other marketing efforts.
To learn more about how to create the content for your email, check out our cornerstone content create blogs:
- Topics: Keyword And Topic Research In Under A Minute.
- Writing: Writing Tools That Can Simplify Your Marketing.
- Images: Create Marketing Graphics In Under 2 Minutes With This Simple Process!
Now that you have content, you can watch our video below, and follow along with our written instructions.
Step 1: Go to your Marketing Launchpad account. If you don't have an account, use our demo account.
Step 2: Scroll down to the Write A Post section. Left-click on the Evernote logo, and open your post copy.
Note: if you haven't written anything to go along with your YouTube video, head back to the "write a post title" section and follow the instructions.
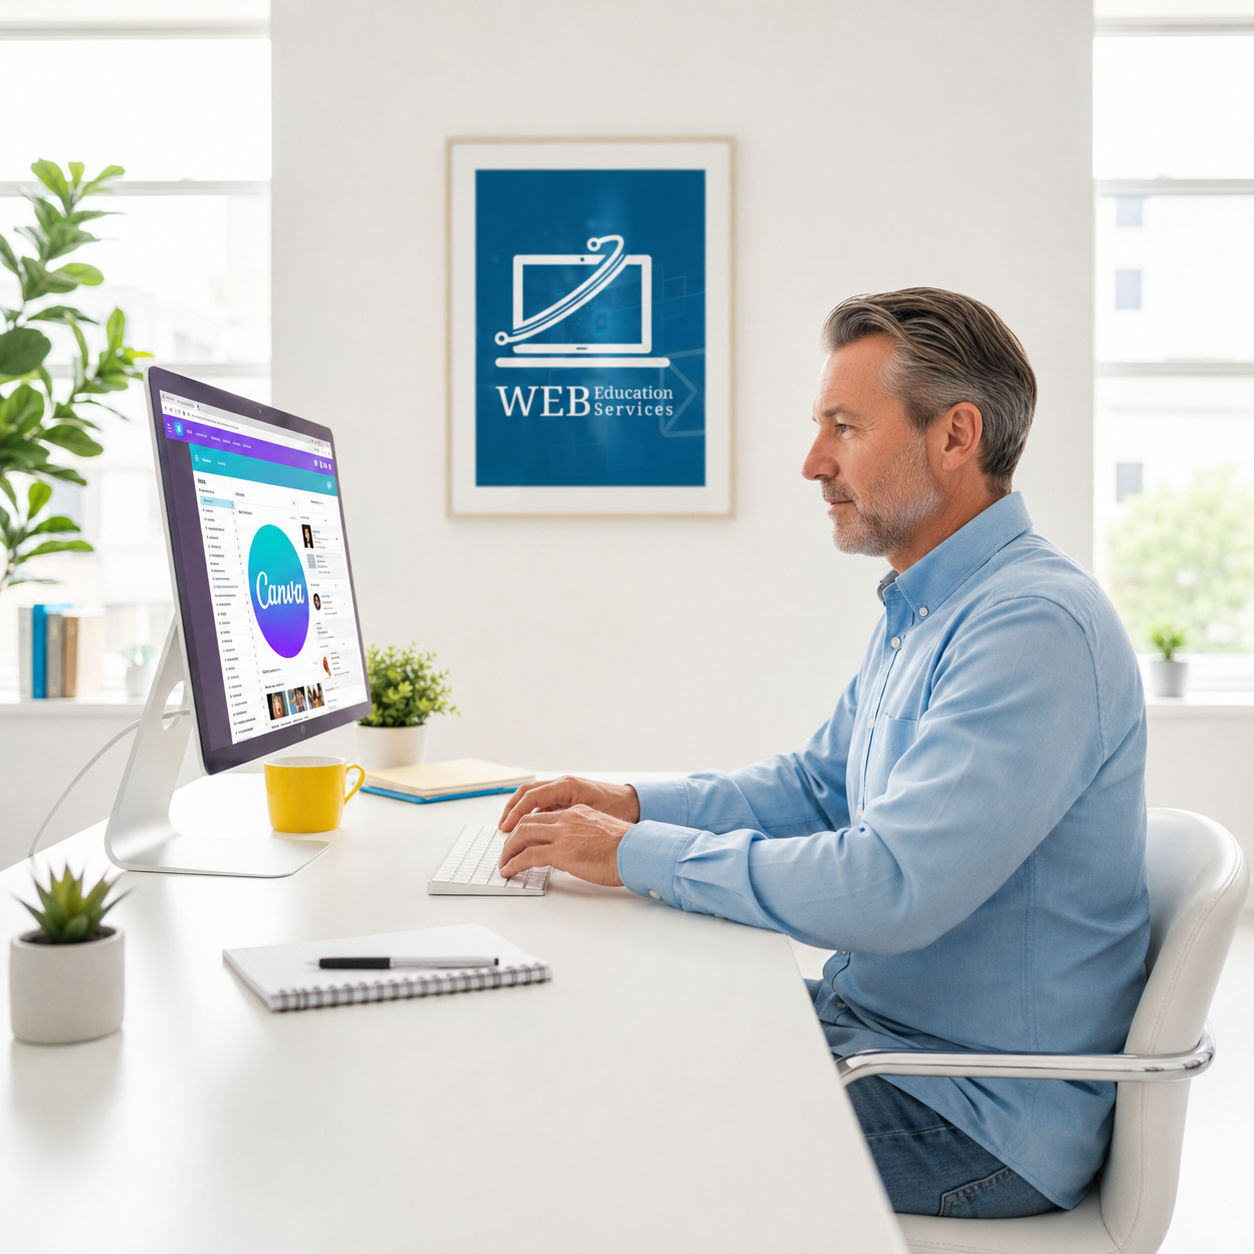
Step 3: Scroll down to the Create an Image and/or Video section. Left-click on Canva, and download your image and video.
Note: if you haven't created a video an image, head back to the "Create an Image and/or Video" section and follow the instructions.
Step 4: Scroll down to the Email Marketing section of the Marketing Launchpad. Left-click on the Hubspot Logo.
Step 5: Hover over your last email or your email template & Left-click on the Clone button. If you don't have a template or previous email, you can schedule a support call with us and we will help you for free. Or, you can read our blog post "Sending A Marketing Email | A Beginners Step By Step Instructions And Video Tutorial"
Step 6: Left-click on the campaign name a the top of the email editor. Copy and paste your title into the campaign name field.
Step 7: Double click on the picture. Left-click on replace. Drag and drop your photo into the photo library in the bottom right-hand corner of the screen. Double click the photo to select it.
Step 8: Double click on the text box. Highlight the old text and delete it from the email. Copy and paste your new text into the text box.
Step 9: Double click on the button at the bottom of the email. Change the text and link as needed.
Step 10: Left-click the settings tab at the top of the email editor. Copy and paste your title into the subject line field. Copy and paste the first sentence from your post into the preview text field.
Step 11: Left-click on send or schedule at the top of the email editor. Verify the "sent to" list. If you need help setting up a list, you can read our blog post "Sending A Marketing Email | A Beginners Step By Step Instructions And Video Tutorial"
Step 12: Left-click on the review and send button in the upper right-hand corner. Left-click on the send button, and left-click on the send email now button.
Congratulations if you were following along because you just sent a marketing email!
If all you need is our written instructions and video, great! If you would prefer to have a marketing instructor show you what to do, it might be time to schedule a free support call.
Our marketing instructors are experts who specialize in showing you how to create content, post, and analyze your efforts.
Click the links below to learn more about our training programs.
Or schedule a
Marketing Launchpad Demo today.
The Marketing How-To Blog