The Content Multiplier: Canva plus the Marketing Launchpad
Learn how to turn your AI-made audio, video & images into content that drives sales. Step-by-step guide for marketers & small businesses.
The Problem: Cool AI Tools, But No Process to Use Them
If you’ve experimented with
NotebookLM,
Whisk,
Flow,
Gamma, and
MusicFX, you already know how fun and creative these AI tools can be. You can make detailed research summaries, original music tracks, short videos, professional slides, and custom images in minutes.
But here’s the problem:
having great content isn’t the same as using it to grow your business. If these files just sit in your downloads folder, they’re doing nothing for your brand, your audience, or your bottom line.
This is where many business owners and content creators get stuck. You have a growing pile of cool assets — but no clear process for turning them into blog posts, social media content, ads, or emails that generate sales.
The solution is to connect your creative tools to a publishing process. In this article, we’ll show you how to:
- Bring it all together in
Canva for easy editing and design.
- Keep it simple with single images or short clips when you’re just starting.
- Use the
Marketing Launchpad to turn your creations into blog posts, emails, and social content — all from one place.
By the end, you’ll have a clear, repeatable workflow that takes you from idea to published marketing in a single afternoon.
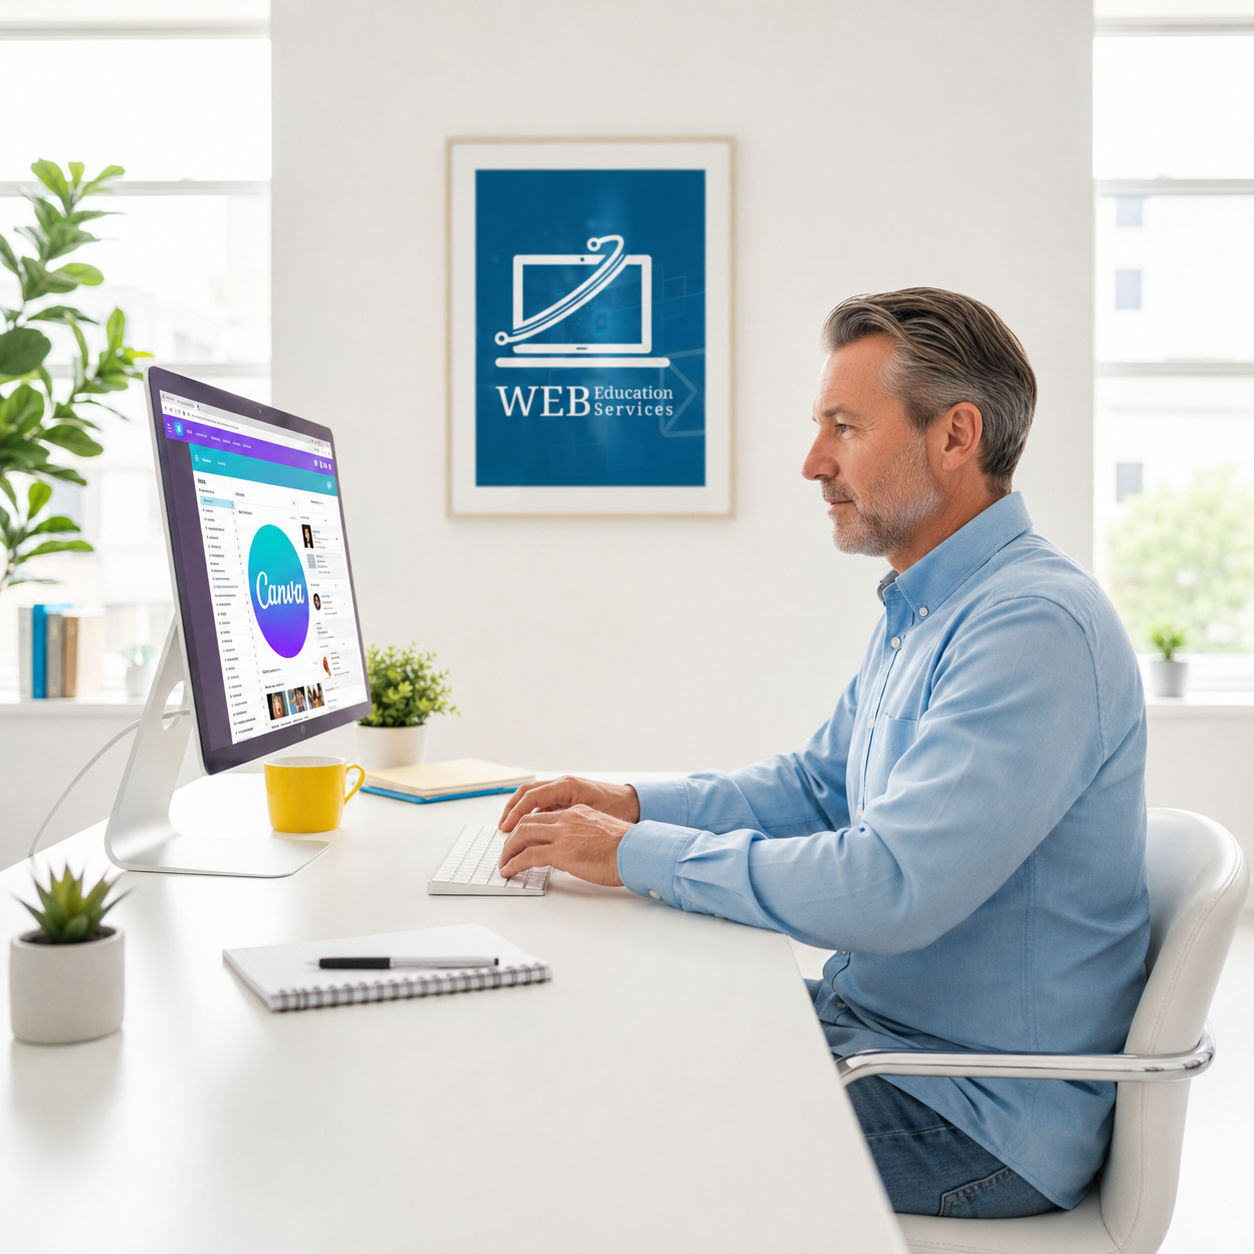
Bringing It All Together in Canva
Canva is the bridge between your AI tools and your audience. It lets you combine images, video, and audio into branded marketing materials without needing professional design skills.
Here’s how to take assets from each of the tools and use them in Canva effectively.
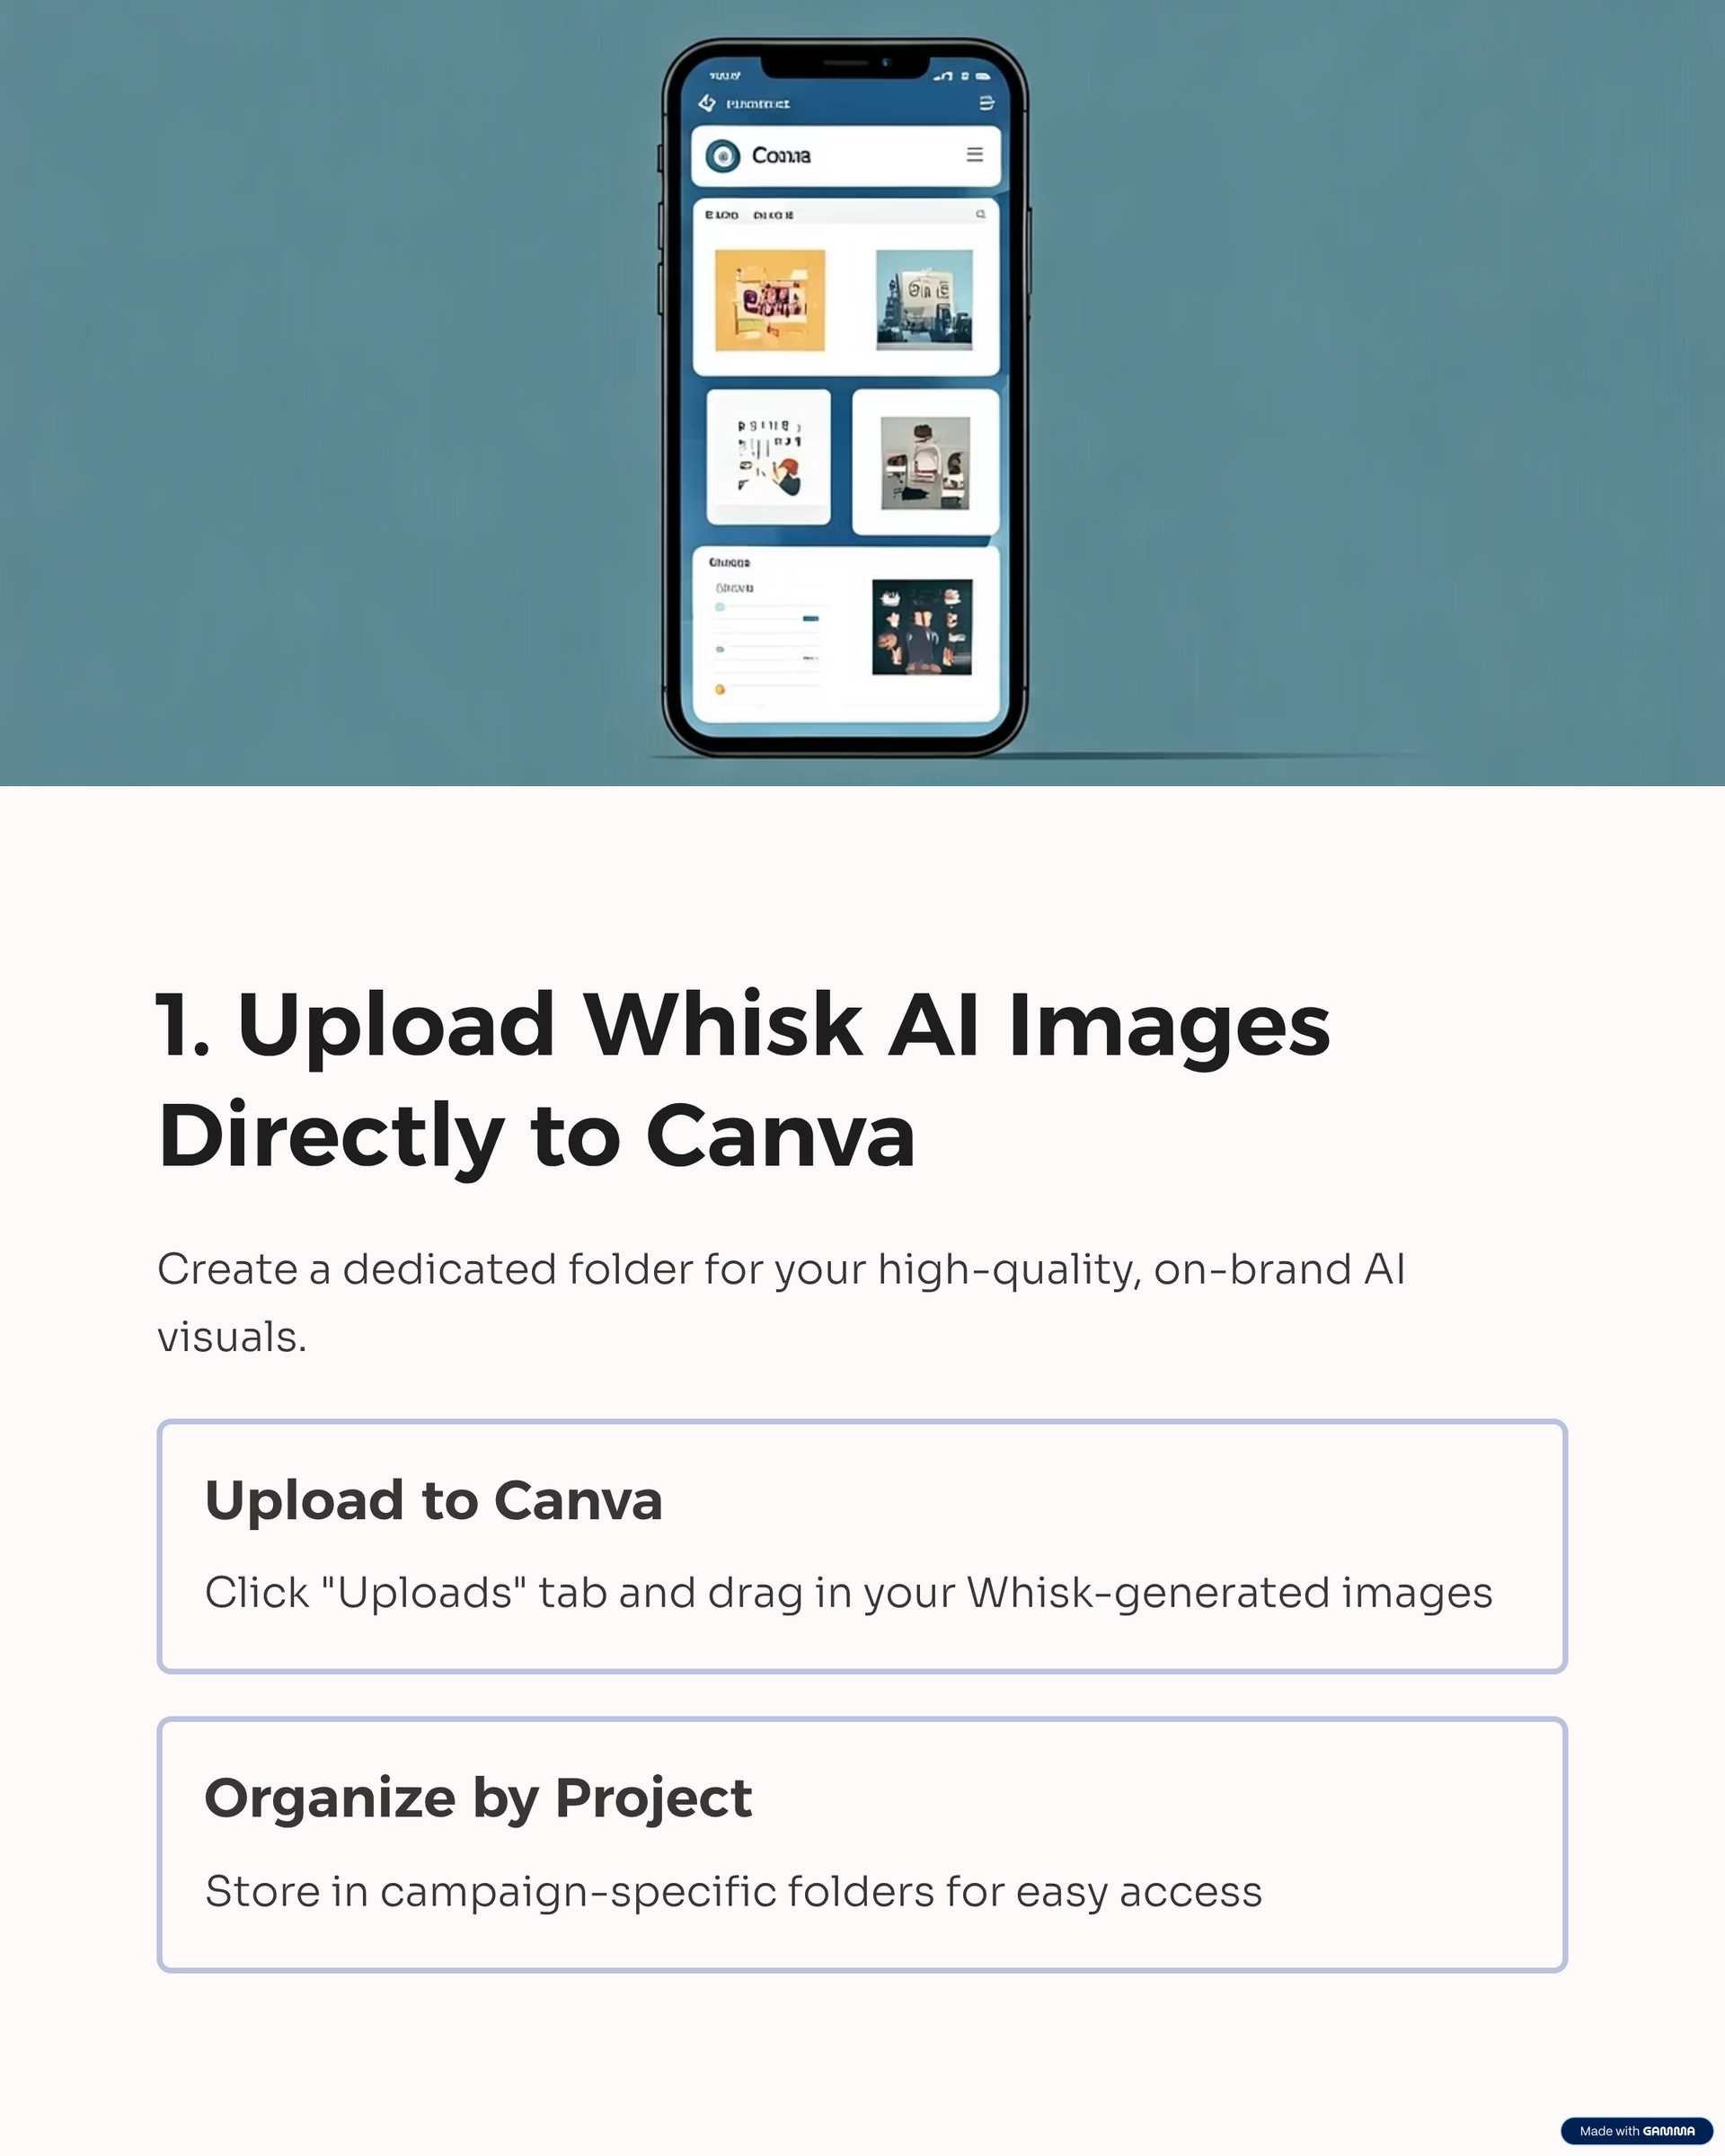
1. Uploading AI Images from Whisk
If you’ve created visuals with
Whisk, you’ve already got high-quality, on-brand images. In Canva, click the
“Uploads” tab, drag in your Whisk images, and store them in a folder named for the campaign or project you’re working on.
Once uploaded, you can:
- Add them to social media post templates.
- Use them as background images for promotional graphics.
- Layer text, shapes, or branding over them for ads.
Resource:Struggling with AI Image Prompts? Whisk Might Be the Fix
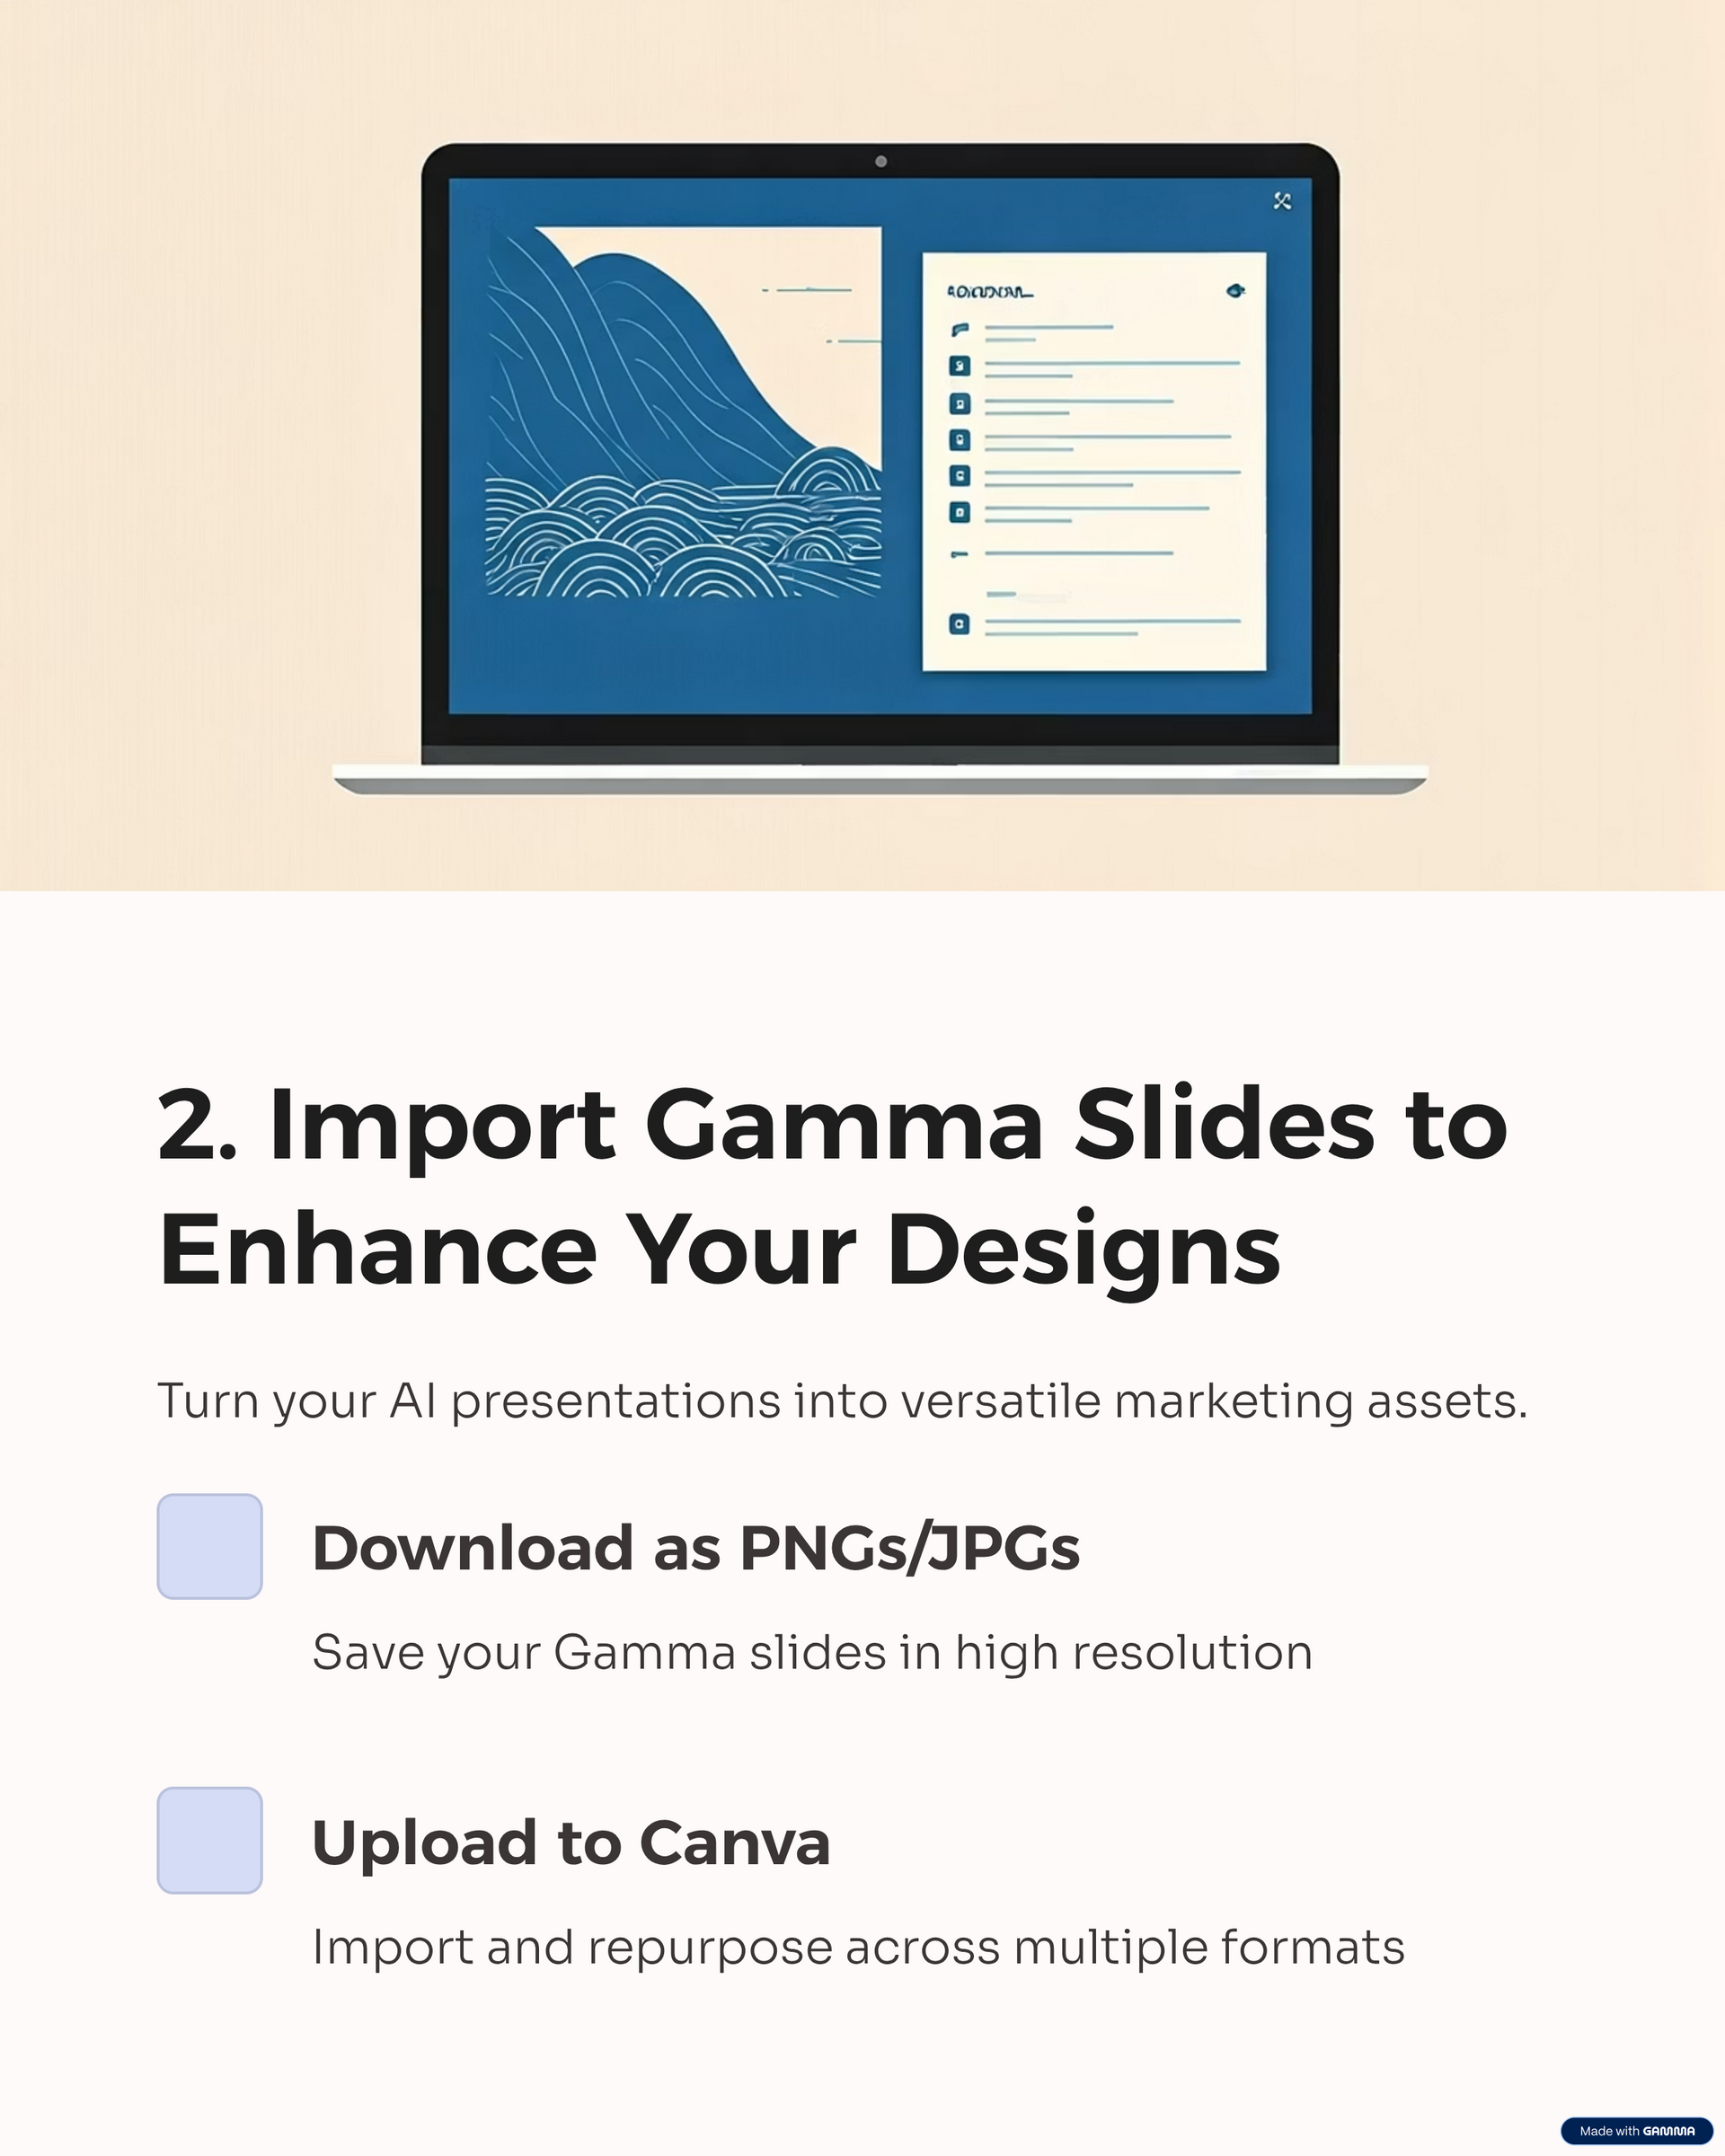
2. Importing Slides from Gamma
Gamma produces presentation decks that look great but can do even more when repurposed. Download your slides as PNGs or JPGs, upload them to Canva, and place them into:
- Carousel posts for Instagram or LinkedIn.
- Infographic layouts to summarize your key points.
- Lead magnets formatted as PDFs.
Resource: Create Slides Fast with Gamma AI
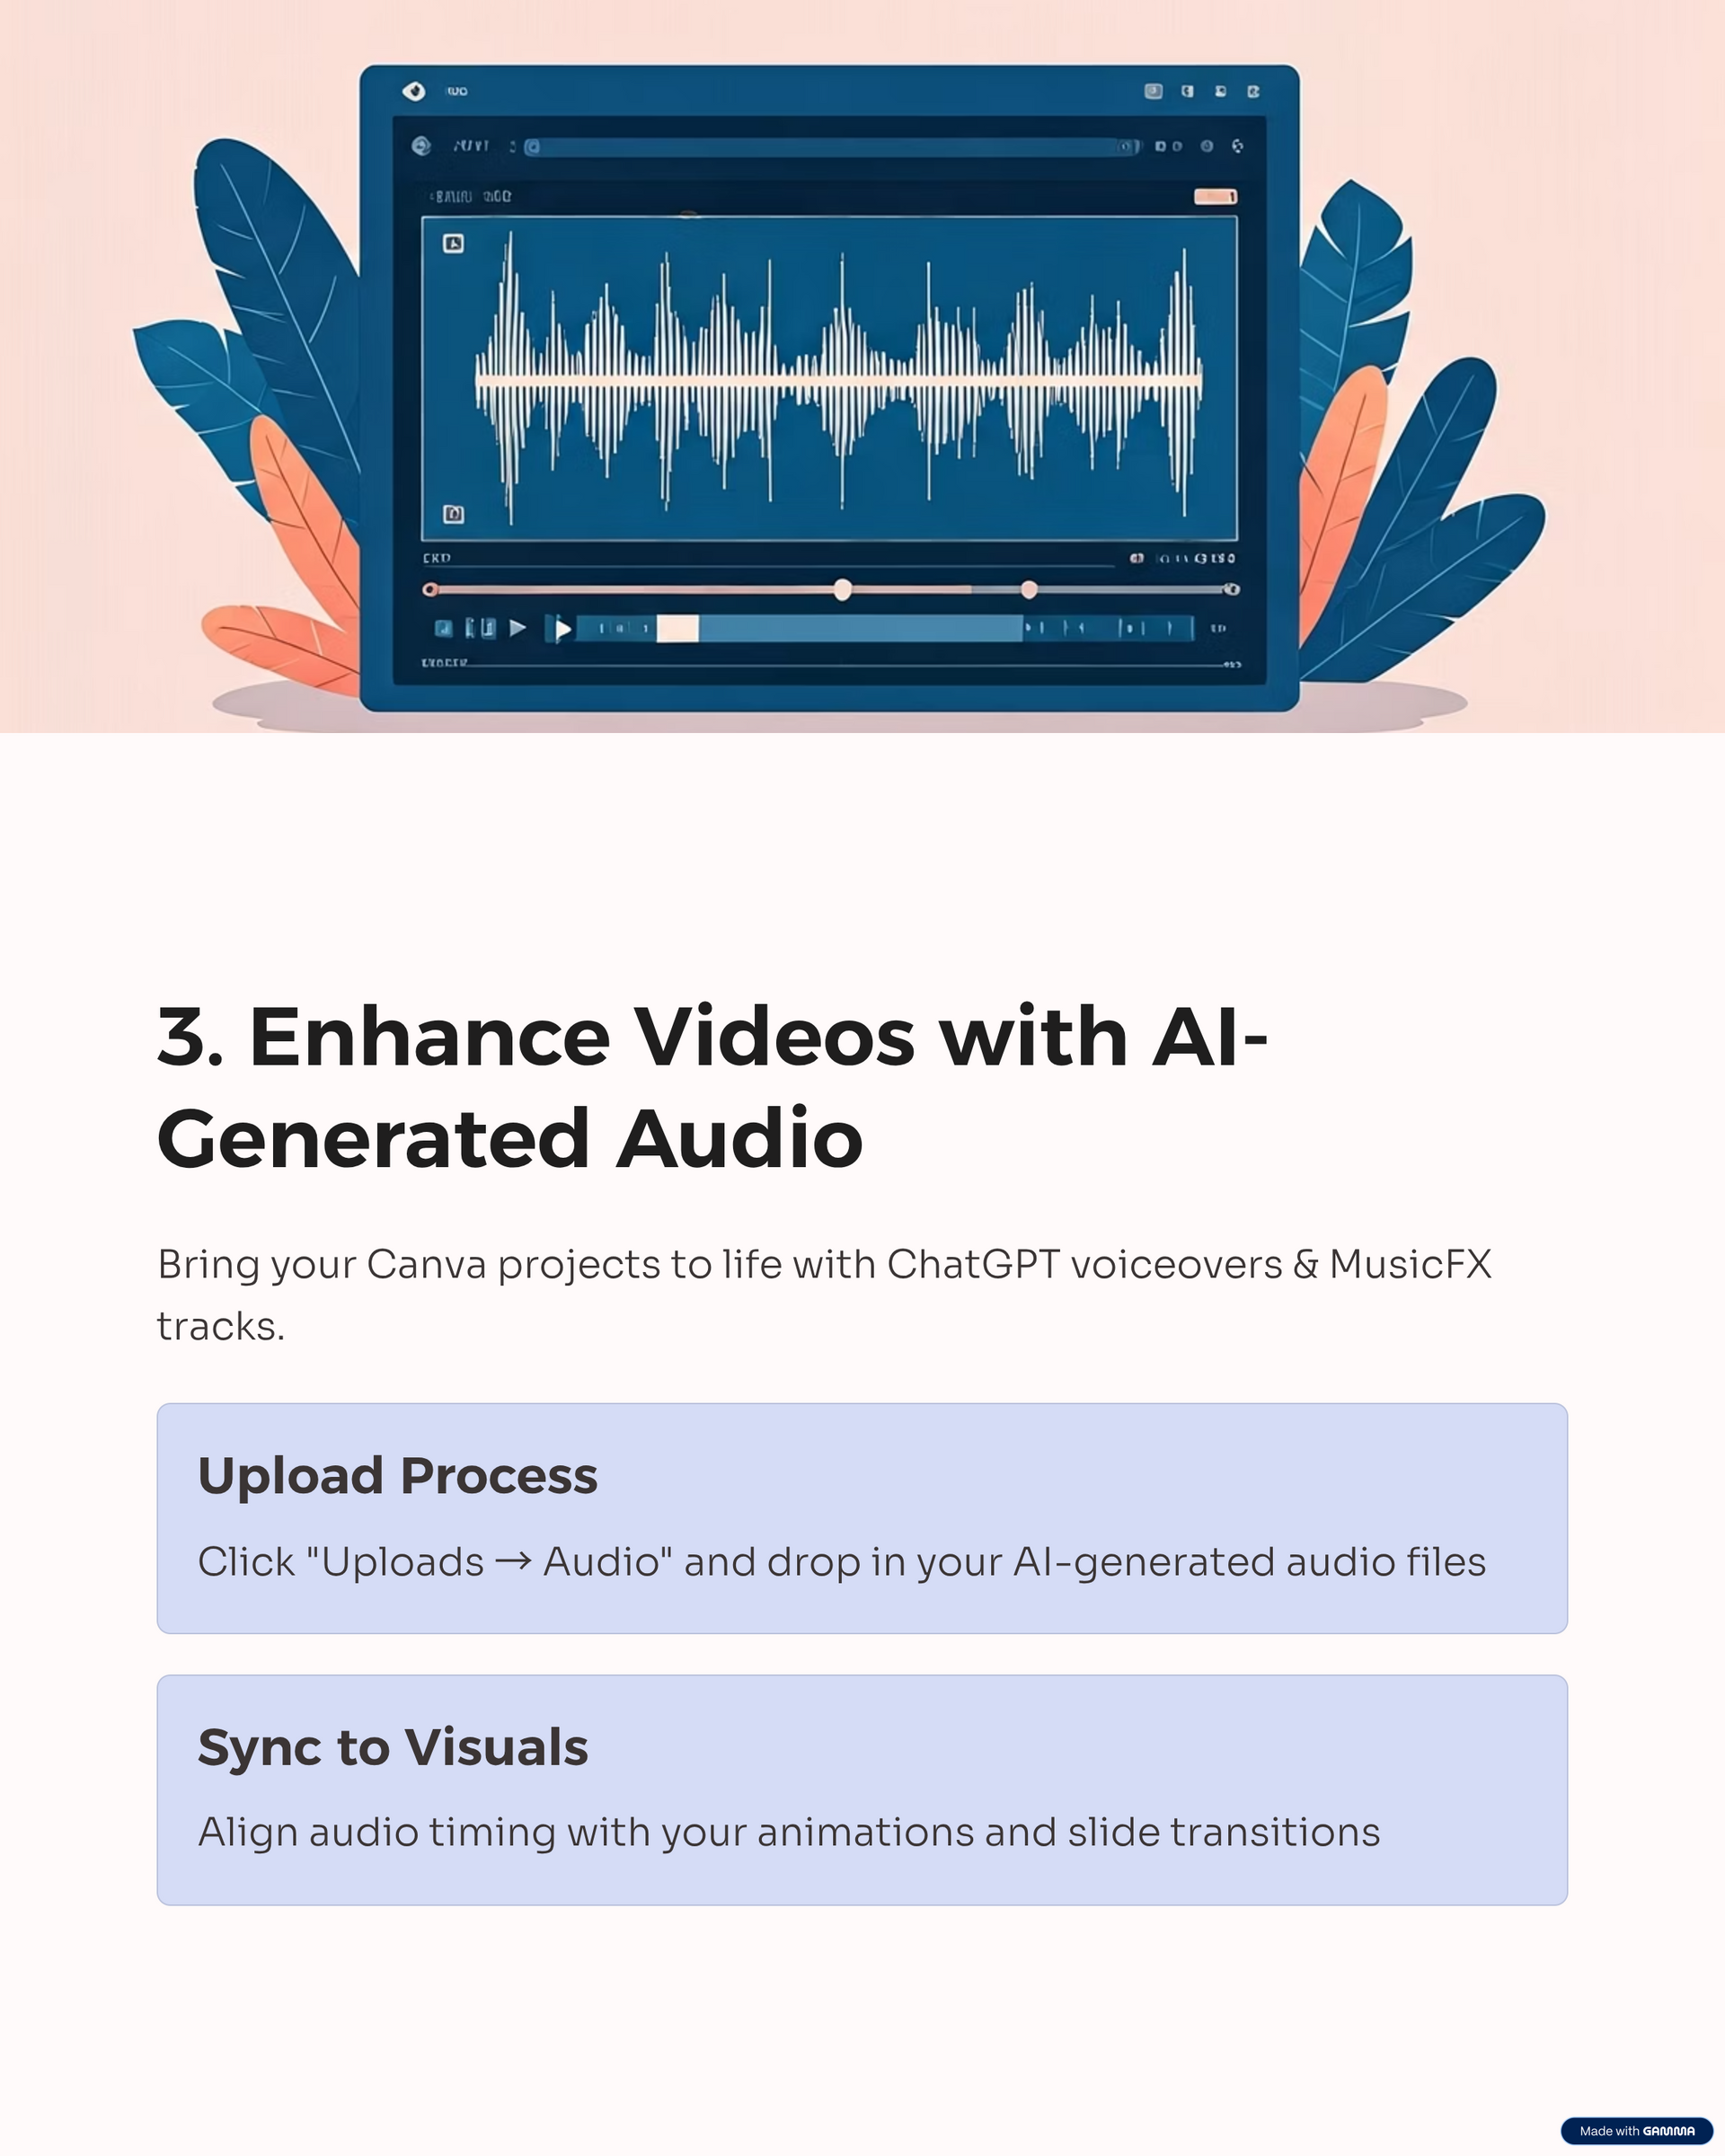
3. Adding Audio from ChatGPT Voiceovers or MusicFX
If you’ve made a voiceover in ChatGPT or background tracks in MusicFX, Canva lets you upload and sync them to your visuals. Just click “Uploads → Audio” and drop in your file.
You can:
- Create narrated explainer videos.
- Add background music to a social media video.
- Build a short promotional reel with text animations and your audio track.
Resource: MusicFX by Google
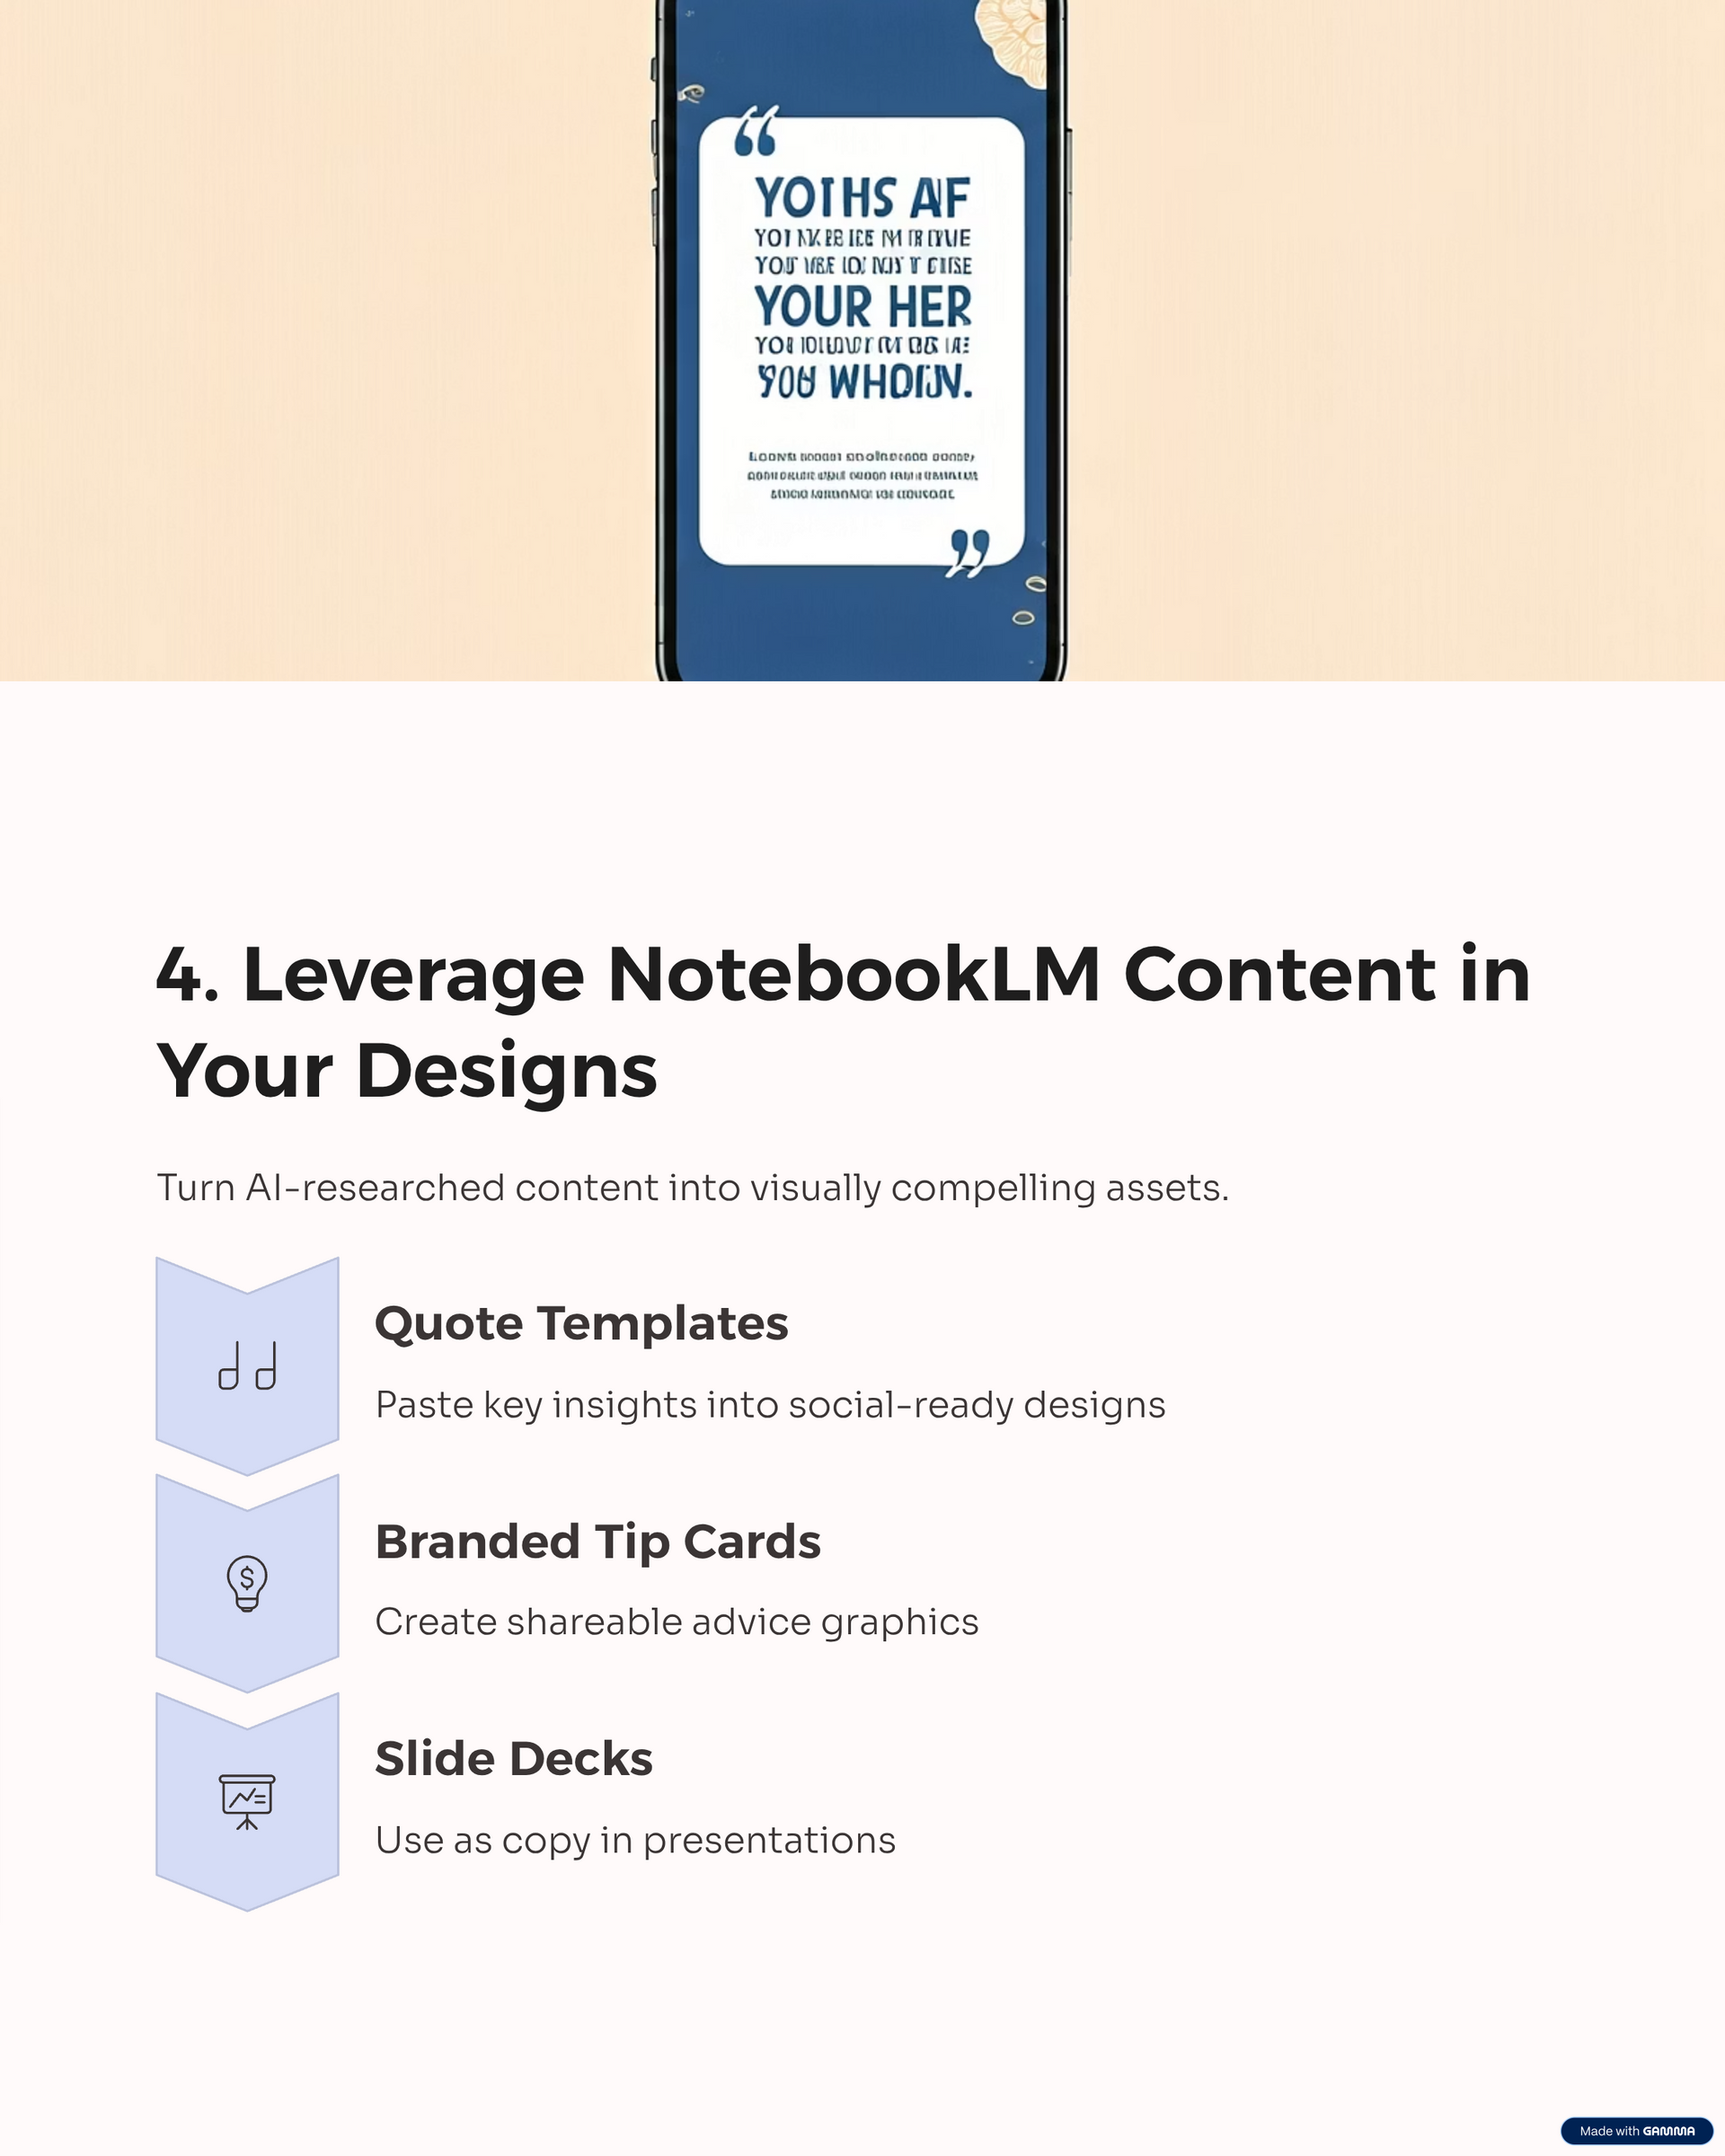
4. Enhancing with NotebookLM Content
NotebookLM is great for generating scripts, research-based talking points, or written breakdowns.
In Canva, you can:
- Paste text into social media quote templates.
- Create branded “tip cards” with your most valuable points.
- Use the copy in your slide decks or video captions.
Resource: NotebookLM for Smarter Content Creation

5. Combining Flow Videos
Flow’s short AI-generated clips are perfect for grabbing attention.
Upload them to Canva, then:
- Add a title screen or call-to-action overlay.
- Insert your Whisk images as transitions.
- Pair them with MusicFX audio for a complete mini-ad.
Resource: Google Flow AI Video Tool
Detailed Example: How to Create a Reel in Canva Using Your AI Creations
One of the most effective ways to combine your voiceovers, music, images, and videos from NotebookLM, Whisk, Flow, Gamma, and MusicFX is to make a short, engaging reel. Canva makes this surprisingly easy — no video editing degree required.
Step-by-Step: Creating Your Reel in Canva
- Start a New Project
- Log into Canva and click
Create a Design.
- Search for “mobile video” to get the correct dimensions (1080 x 1920).
- Upload Your Voiceover
- In the left menu, click
Uploads → Audio, then drag in your ChatGPT-generated voiceover file.
- Once uploaded, drag it onto the timeline at the bottom of the screen.
- Upload Your MusicFX Track
- Still in
Uploads → Audio, add your background music from MusicFX.
- Place it under your voiceover and adjust the volume so it supports rather than overpowers your narration.
- Upload Your Images from Whisk
- Go to
Uploads → Images and add your AI-generated pictures.
- Arrange them in sequence to match the sections of your voiceover.
- Use Canva’s animations (e.g., fade, pan, zoom) to keep visuals dynamic.
- Upload Your Video Clips from Flow or Gamma
- Go to
Uploads → Videos and drop in your short Flow AI clips or Gamma exports.
- Trim them to fit the timing of your audio.
- Layer them between images for variety.
- Edit It All Together
- Use the timeline to sync visuals with your voiceover beats.
- Add text overlays for key points or calls to action.
- Adjust transitions for smooth flow between clips and images.
- Export Your Reel
- Click
Share → Download and choose MP4 format.
- Upload to Instagram, TikTok, Facebook Reels, or YouTube Shorts — or post directly through the Marketing Launchpad if you’re using it.
Pro Tip: Keep reels under 30 seconds for higher engagement, and open with your most visually striking clip to grab attention immediately.
Keep It Simple with a Picture or Short Clip from Flow
If Canva feels overwhelming, start with the simplest possible action:
- Pick one image from Whisk.
- Or pick one 8-second video from Flow.
- Post it with a short caption and a relevant link.
This minimalist approach lets you get into the habit of publishing without waiting until you have the “perfect” campaign.
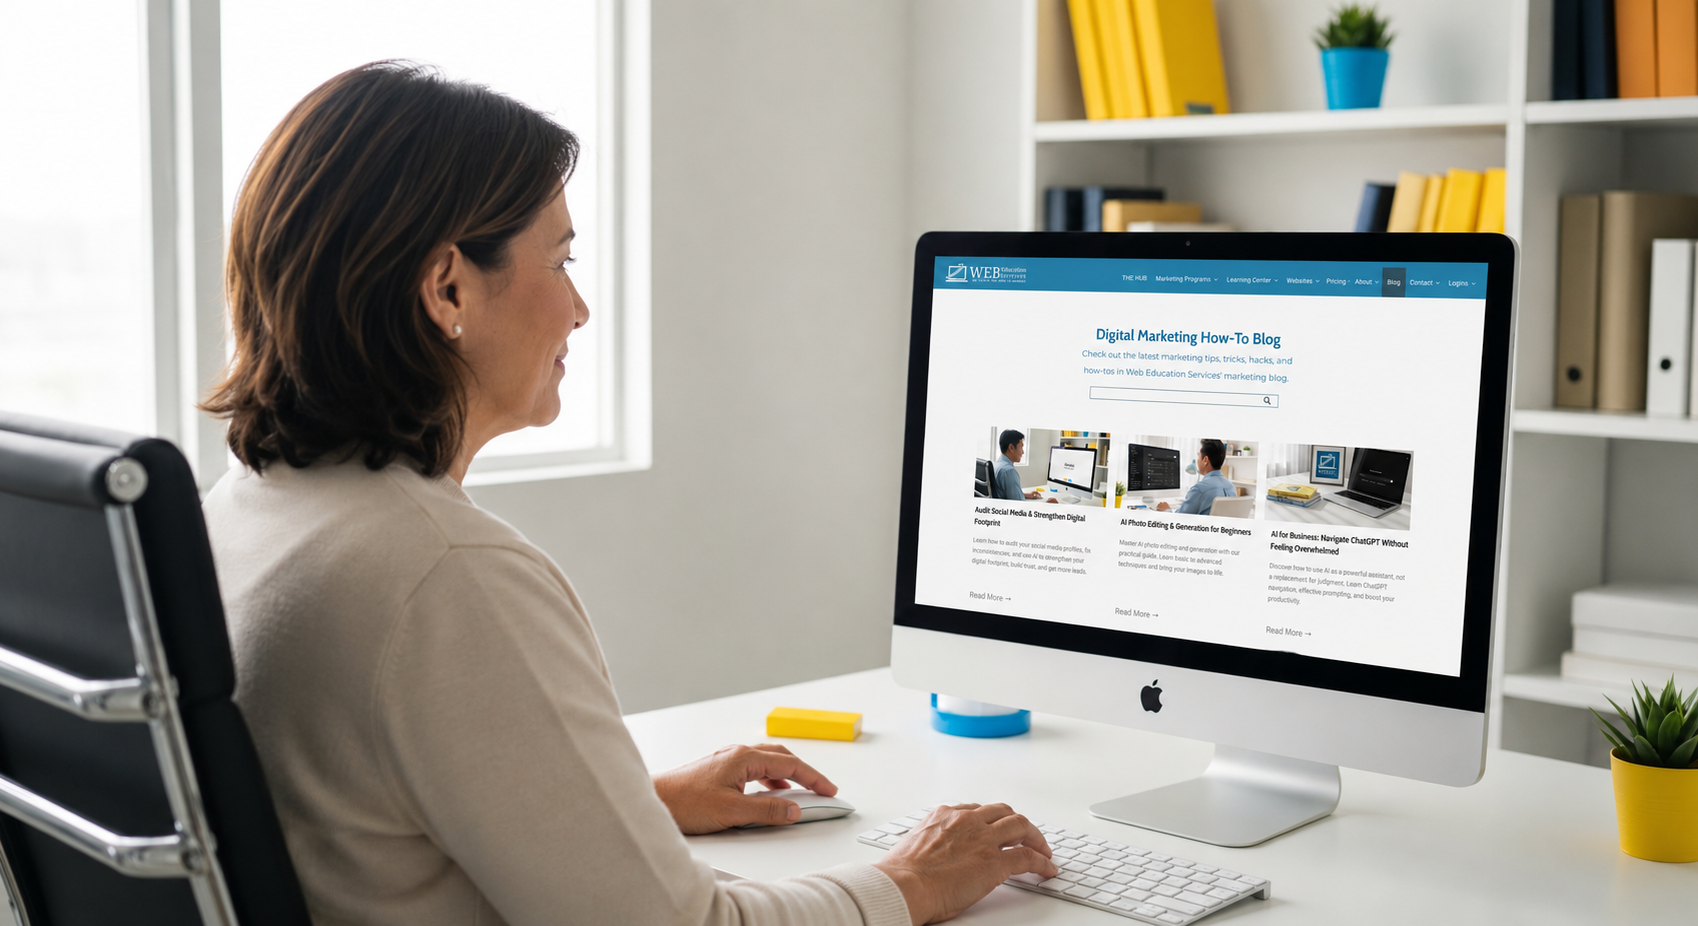
When you’re ready to grow, explore our resources:
- Our Blog for tutorials and examples.
Marketing Essentials Program for a step-by-step self-paced course.
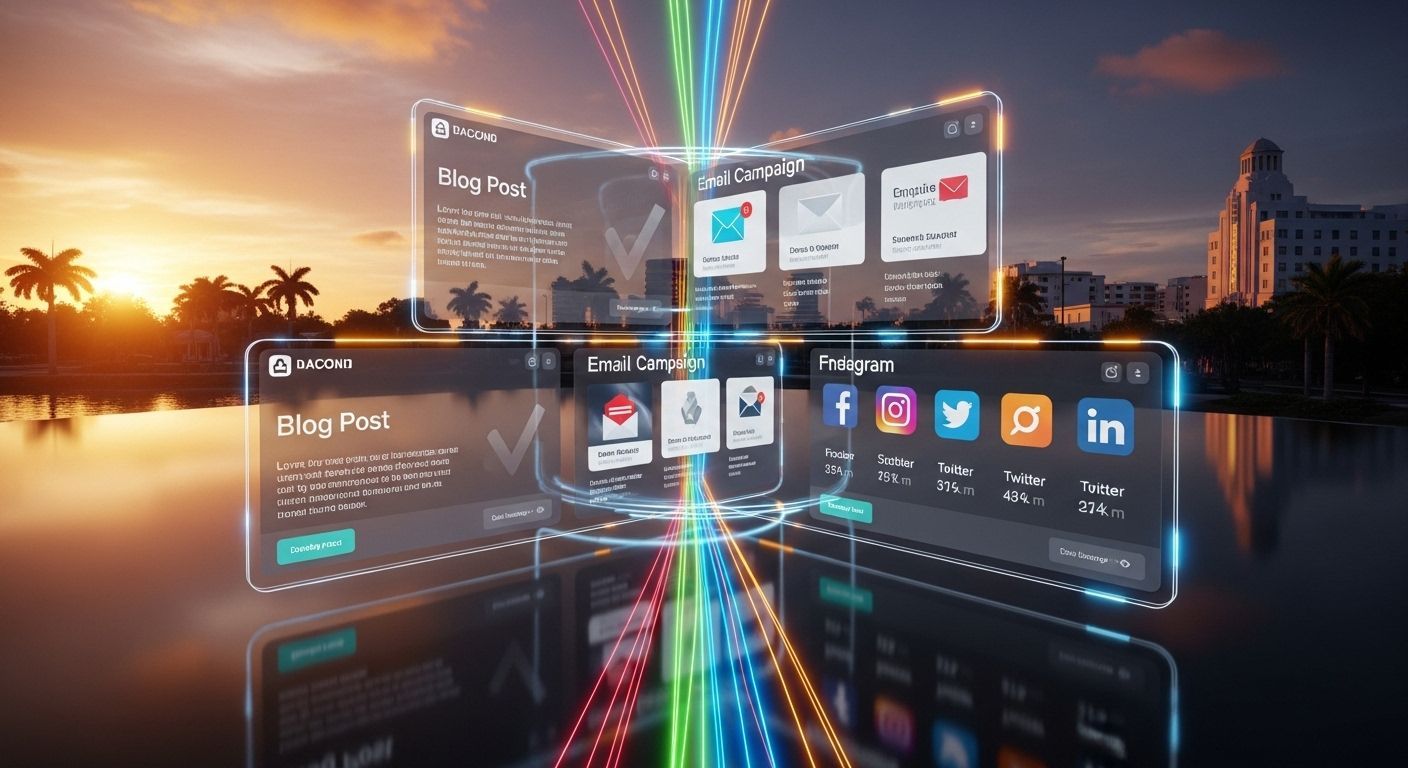
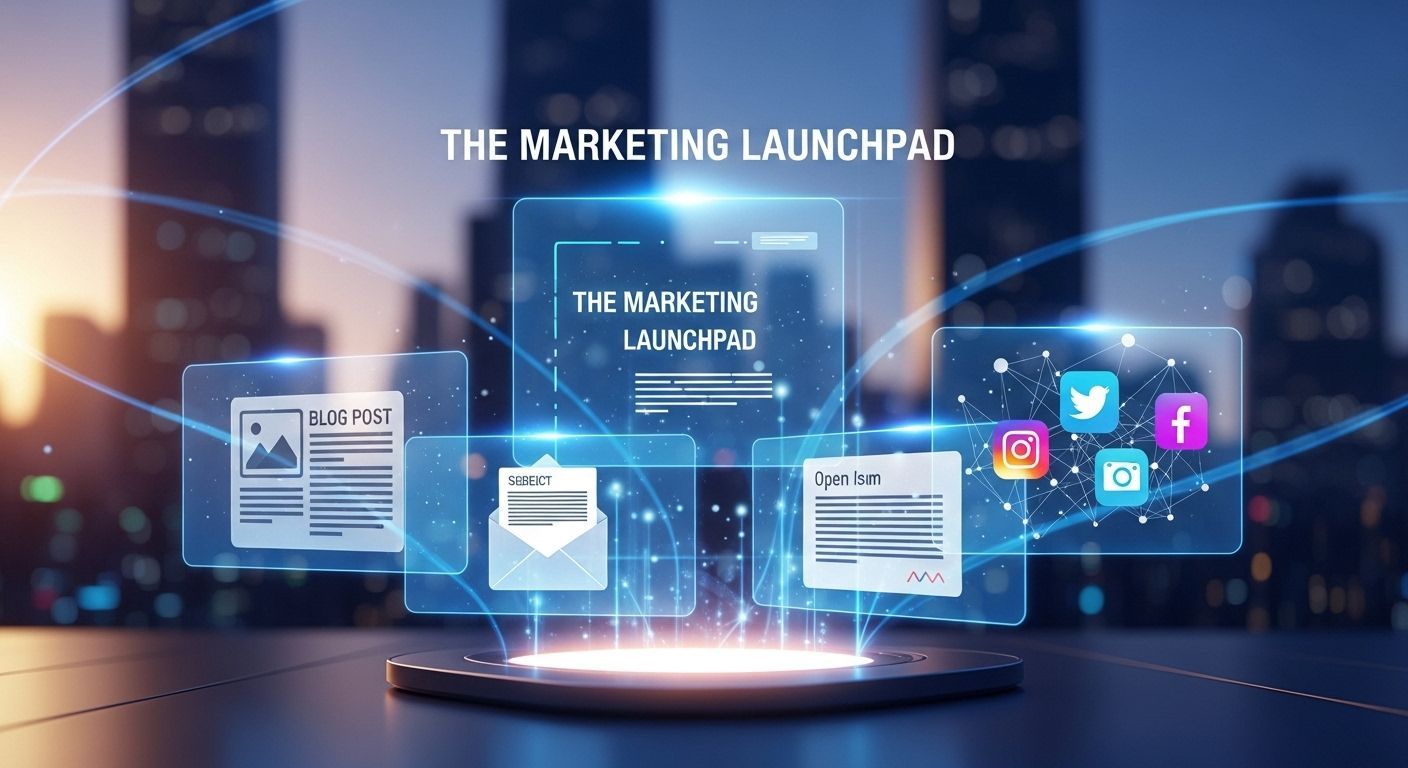
Using the Marketing Launchpad to Publish Everywhere
Once you have your visuals, audio, and scripts, the Marketing Launchpad makes it easy to turn them into multiple pieces of content for every platform.
Here’s the step-by-step process:
Step 1: Write Your Blog Post
- In the Launchpad, go to the
“Write a Post” section.
- Click on the
Blog Prompt button — this will copy a pre-written prompt and open ChatGPT.
Paste the prompt into the “Ask Anything” field. You’ll see placeholders like:
Can you write a blog article around 2000 words about...
Write an engaging introductory paragraph that focuses on the problem of...
Write a section about...
Write a section about...
Write a section about...
Write call to action...
Structure the blog for Google Search visitor intent of Commercial. Include headers for each section that focus on the keywords. Follow Yoast SEO readability standards. Include a meta title under 55 characters and a description under 145 characters. Please include 3 internal links and 1 external link
- Complete each section with your topic details. For example:
- About… → Describe your subject.
- Problem of… → Identify the audience pain point.
- Section about… → Outline your solutions or tips.
- Call to action… → Tell them exactly what to do next.
- Click
Send to generate your full blog post.
Step 2: Create Your Email
- Return to the Launchpad.
- Click the
Email Prompt button.
- Paste the prompt into the same ChatGPT conversation (so it knows the blog context).
- Click
Send — you now have an email version of your blog to send to your subscribers.
Step 3: Create Your Social Media Posts
- Go back to the Launchpad and click the
Social Media Prompt button.
- Paste it into ChatGPT in the same conversation.
- Click
Send — now you have ready-to-post social captions and hashtags.
Bonus: Want more posts for the week? Repeat the process with slight variations.
Step 4: Generate Photos for Your Posts
- In the Launchpad, click the
Photo Prompt button.
- Paste it into ChatGPT.
- Click
Send — ChatGPT will give you a prompt you can use in an AI image generator (like Whisk or ImageFX) to create visuals for your content.
Step 5: Publish Everywhere
At this point, you have:
- A blog post for your website.
- An email for your list.
- Social media posts for multiple platforms.
- Photos and videos to match.
This is a
content multiplier system — one idea can become five or more pieces of content in less than an hour.
From Creation to Conversion: Why Process Matters
Tools like NotebookLM, Whisk, Flow, Gamma, and MusicFX are powerful — but without a process, you end up with a “digital attic” full of unused files.
When you centralize in Canva and automate publishing with the Marketing Launchpad:
- You save hours every week.
- Your brand looks polished and consistent.
- You turn creative experiments into sales opportunities.
Join Our Friday Marketing Workshop
You don’t have to figure this out alone. Every Friday at 2 PM, we host our interactive AI Workshop where we walk you through creating, designing, and publishing content with tools like NotebookLM, Whisk, Flow, Gamma, MusicFX, Canva, and the Marketing Launchpad.
https://www.webeducationservices.com/sign-up
Bring your creations from NotebookLM, Whisk, Flow, Gamma, and MusicFX — and leave with published content that grows your business.
The Marketing How-To Blog