Making the Right Choice: Building a Website Yourself or Hiring a Designer

Justin Babcock • Jul 12, 2023

In the ever-evolving digital landscape, establishing an online presence is paramount for every business. A well-structured and designed website can greatly enhance your brand's visibility and credibility. However, the process of creating a website can be daunting, especially when confronted with decisions like the cost of hiring a designer, how to find a suitable one, or opting for a do-it-yourself (DIY) approach using website builders like Wix or Squarespace. Making an informed choice can be challenging, but it's not impossible.


Figuring Out Your Budget and Time: The Classic Decision

Building a website involves an investment of both time and money. Hiring a designer can cost between $100 to $200 per website page, whereas setting up a website yourself might consume around 4 hours per page. It's a classic time or money conundrum that forces you to reassess your priorities.


Do you have the design skills to build a website yourself? If not, using DIY applications may extend the time it takes for you to establish your online presence. However, if your budget is tight, investing your time into learning and implementing the process might be a viable option.


DIY Website Builders: A Blessing or a Curse?

Website builders like Wix, Squarespace, and WordPress have made website creation accessible to everyone, regardless of technical expertise. But are they always the best choice?
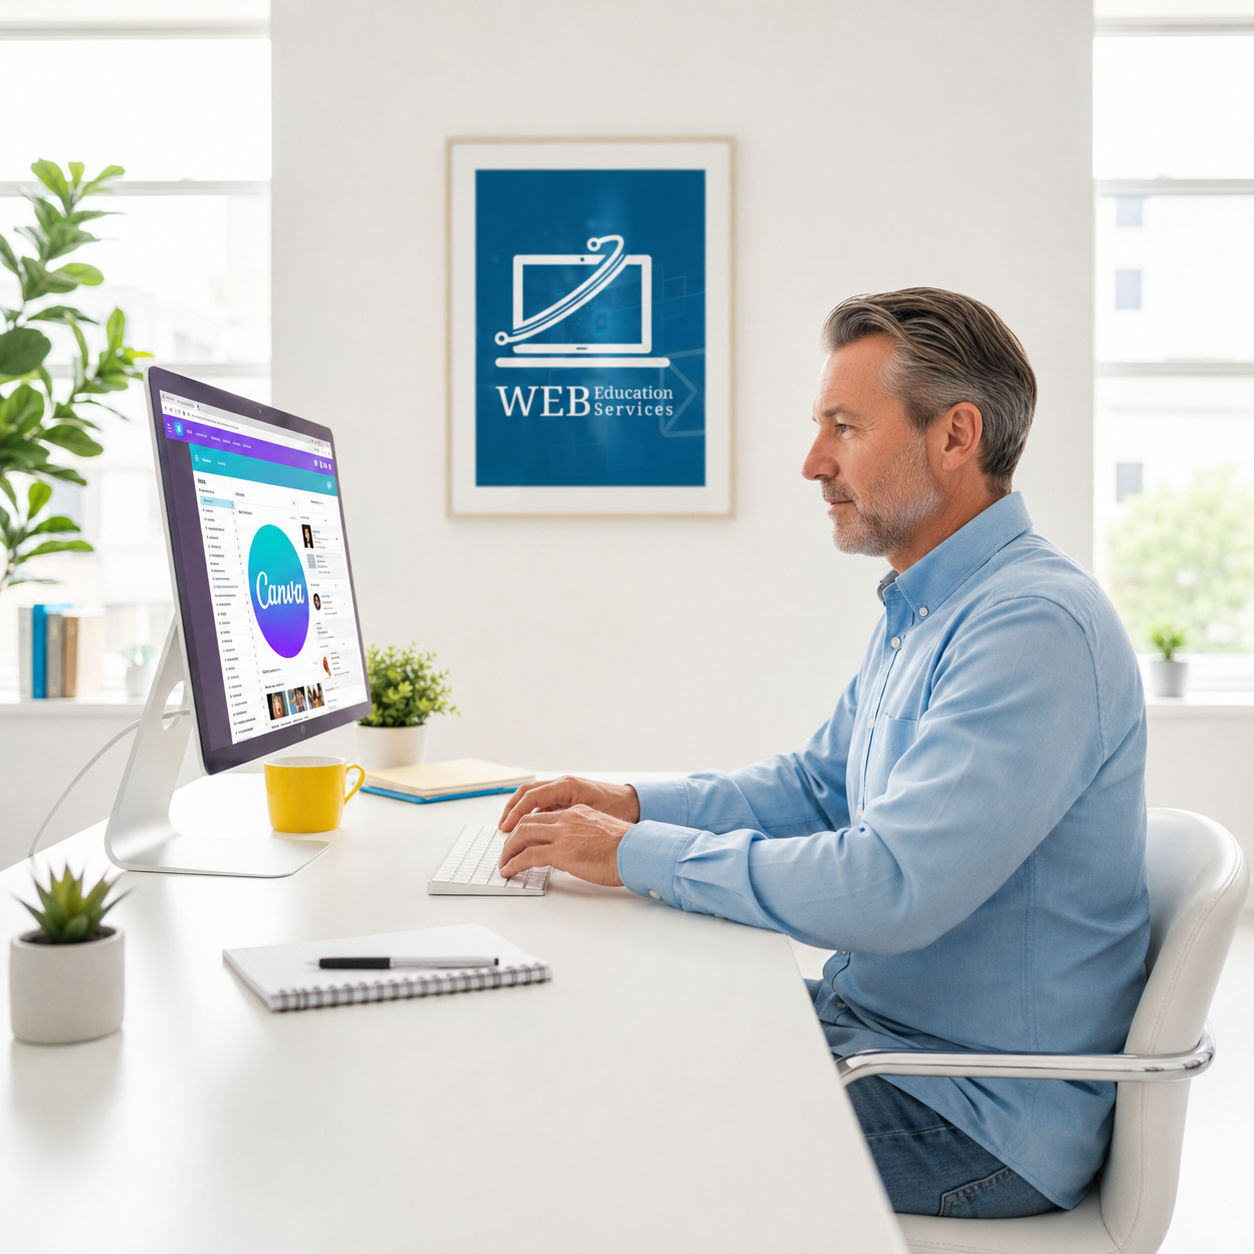

Wix

Pros: Wix offers an intuitive drag-and-drop interface and a variety of templates, which make it easy for beginners to create a website. It also provides advanced features for more seasoned users.


Cons: The flexibility of Wix can also be its downfall, as the wide range of options can be overwhelming. Its SEO capabilities have been criticized, and the free plan comes with ads.


Squarespace

Pros: Squarespace is known for its sleek, professional design templates. It offers comprehensive features and excellent customer support.


Cons: Squarespace's pricing is slightly higher compared to other builders, and the platform can be less intuitive for first-time users.


WordPress

Pros: WordPress offers incredible flexibility and control, with thousands of themes and plugins. It's a great choice for blogs due to its strong content management system.


Cons: WordPress has a steeper learning curve compared to other builders, and you may need to handle updates and security measures manually.

Builder Ease of Use Design Flexibility Pricing Customer Support
Wix High High Moderate Moderate
Squarespace Moderate High High High
WordPress Low Very High Low Moderate

Hiring a Designer: The Professional Touch

At our company, we offer a range of affordable website design packages, starting with a one-page website for $350, and our 15-page site for $1450. The advantage of hiring a professional designer is that you get a custom-built website tailored to your business needs, with high-quality design and user-friendly navigation.


Unlike the limitations of DIY website design, a professional web designer can infuse your brand's unique style and ethos into the website. Plus, we provide continued support and superior search engine optimization (SEO) to ensure your website ranks high in search results.


Take the Next Step: Explore Our Programs and Processes

In the end, choosing between a DIY website builder and hiring a professional web designer depends on your budget, skills, and time commitment. If you're ready to take your business to the next level, we're here to help. Schedule a call to learn more about our programs and processes. We can provide the guidance and expertise needed to make your website building journey a successful one.


Want more helpful DIY Marketing articles delivered to your inbox? Click subscribe and join our DIY Marketing Squad.

The Marketing How-To Blog

By Justin Babcock 04 Oct, 2023
In the complex world of business, understanding the distinction between market behavior and marketing actions is paramount. Often, newcomers to the marketing realm are confounded by the unpredictability of the market and how it sometimes seems to defy their marketing efforts. A simple, yet enlightening analogy can help elucidate this - think of the market as the weather and marketing as farming.
By Justin Babcock 18 Jul, 2023
A website isn't just a nice-to-have for businesses these days, it's a must-have. A well-designed website enhances your brand's online presence, paves the way for customer engagement, and business growth. In this article, we explore the 7 qualities you should look for in a New Port Richey web designer. We will also introduce you to Web Education Services - a Google 5-star rated web design agency.
By Justin Babcock 28 Jun, 2023
Google Ads is an essential tool for any digital marketer looking to drive traffic, generate leads, or increase conversions. Setting up a display ad is straightforward once you understand the steps involved. Follow this guide to create your display ad and optimize it for the best results. Step 1: Creating a New Campaign Start by signing into your Google Ads account. If you do not have an account, you can create one at ads.google.com . Once you're in your Google Ads account, navigate to the "Campaigns" section on the left side of your screen. Click the "+ New Campaign" button. This button is typically located in the main body of the "Campaigns" page, though the exact location might change due to updates.This button may also appear as a blue plus sign. The video above will show you specifically where to click. Depending on your marketing objectives, select the goal that suits your needs. Google Ads provides options like Sales, Leads, Website traffic, Product and brand consideration, Brand awareness and reach, or App promotion. If you're new to Google Ads, select 'Website Traffic' for your new campaign. For those already comfortable with Google Ads, select 'Leads' (assuming you have leads connected into your Google Ads account). Step 2: Choosing Display Ads Next, select the 'Display' option. Paste in the link of the page or product you want to promote in the link field. If a pop-up window appears, you can simply close it. Step 3: Naming Your Campaign Give your campaign a name. Ideally, this should be the same as your blog or the particular project you're working on. Step 4: Setting the Location Google Ads will prompt you to choose a target location. Click on add another location. This can be the county you're operating in, or you can choose a radius around your business location. Click on 'radius', input your address, and select the miles target to establish your service area. Step 5: Language and Budget Set your language preference and daily budget for the ad campaign. For beginners, you might want to start with English and a budget of a dollar a day, but feel free to adjust these settings based on your specific needs and strategy. Step 6: Selecting Your Audience Next, click on your audience segments. You can target audience segments by demographics or keywords. If you're new to this, it's recommended to stick with audience segments that align with your business. Step 7: Adding More Targeting For advanced targeting, click on 'Add targeting' and select your demographics. For example, you might want to exclude certain age groups, like 18 to 24 year-olds. Once you've made your selection, click on 'Done'. Step 8: Setting up Your Ad The final step involves setting up your actual ad. Start by adding your business name, and then select your images. You can either use free stock images provided in Google Ads or upload your own. Make sure to load at least 15 images to maximize your ad's effectiveness. You can also add a logo and video content. If you have a relevant video, search for it on YouTube and link it to your ad. Finally, add your headlines and descriptions. Aim for five headlines and five descriptions to maximize your ad strength. You can use pre-made headlines provided by Google, or create your own. Your 'Long Headline' should be consistent with the campaign name. Ensure that you add your descriptions the same way you added your headlines, aiming for five descriptions to get your ad strength up to excellent. Once everything is set, rename your ad group (typically the same name as your campaign) and click on 'Publish Campaign'. Now, your ad is live! Remember, the key to a successful display ad campaign is continual optimization and experimentation. Happy advertising! And if you need any help with your display ads, you know where to find us. Contact Web Education Services. If you are not a fan of blog posts and step by step articles, check out our comprehensive 13-week marketing course. It includes one to one instruction and account set up for all those frustrating marketing applications. Click here for the Marketing Launchpad Course outline.
More Posts
Share by: