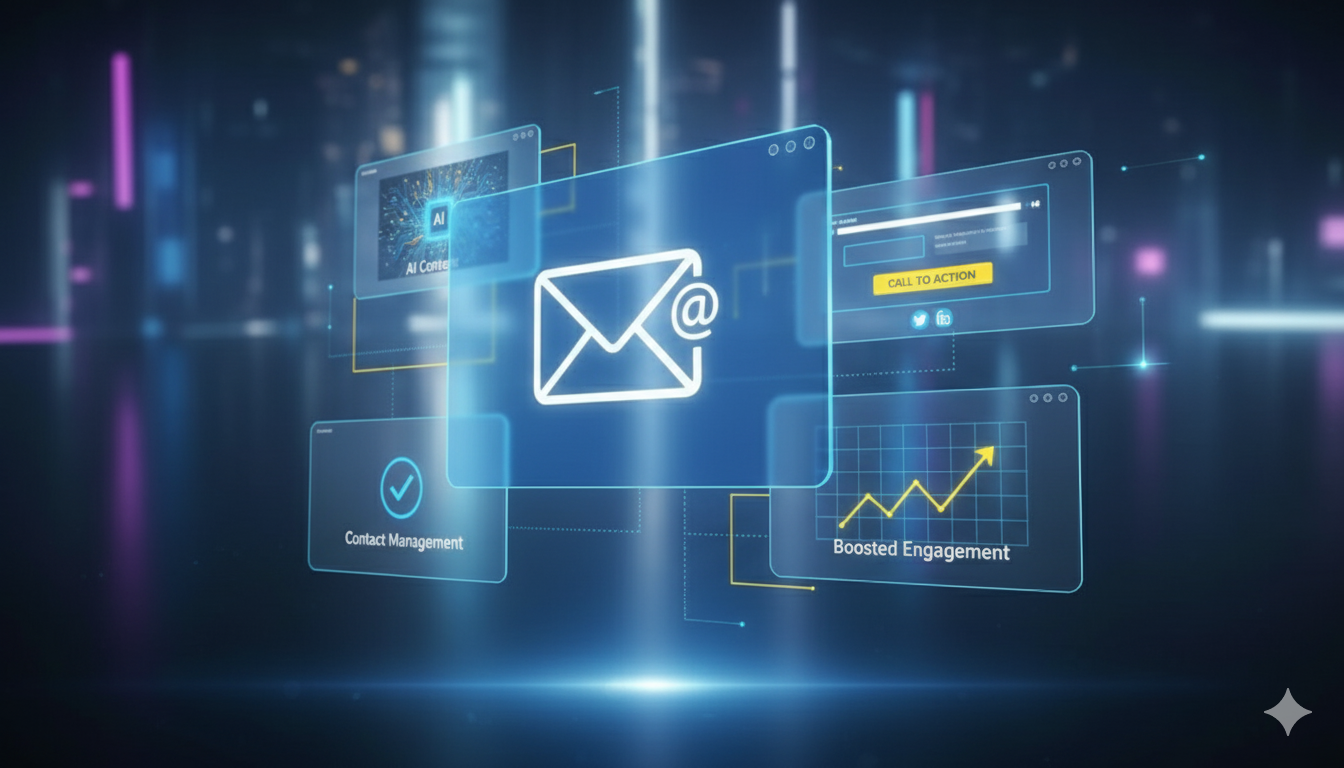
Learn why email marketing works, how to use free tools like HubSpot CRM, and how to launch your first campaign.

You’ve probably noticed how easy it has become to create content with new AI tools. Blogs, graphics, even video scripts can be generated in seconds. But here’s the catch—if you don’t have a system for getting that content out to the public, it just sits there collecting digital dust. This is where email marketing becomes your secret weapon. Instead of hoping your audience stumbles upon your website or social media post, you can land directly in their inbox with a message designed to engage, inform, and convert.
Let’s explore why email marketing works, how to get started with free tools like HubSpot CRM, and how you can launch your first campaign without breaking the bank.
Why and When Email Marketing Works
Email marketing has stood the test of time for one simple reason—it works. According to HubSpot, email marketing delivers an average ROI of $36 for every $1 spent, making it one of the most cost-effective strategies available.
Here’s why it continues to be powerful:
- Direct access to your audience: Social media platforms change algorithms constantly, but an email list is yours to control.
- Personalization: With email, you can segment audiences and deliver personalized messages that feel tailored to each reader.
- Timing: Whether it’s a product launch, holiday promotion, or workshop reminder, email gets your message out quickly and on schedule.
- Nurturing relationships: Not everyone is ready to buy today. Email allows you to stay in touch, building trust over time.
When does email marketing make the biggest impact?
- When you’re launching a new product or service.
- When you want to re-engage past customers.
- When you need to educate leads over time with valuable content.
- When you want consistent, measurable communication with your audience.
Email marketing isn’t about blasting out promotions—it’s about creating a reliable line of communication that supports your broader marketing goals.
Getting Started With Free Email Marketing Tools
If you’re new to email marketing, the good news is that you don’t need expensive software to start. Tools like the Free HubSpot CRM give you everything you need:
- Contact management to store leads and customers.
- Email templates to design and send professional messages.
- Automation basics to schedule and deliver your campaigns.
- Analytics so you can track open rates, click-through rates, and conversions.
Other free platforms like Mailchimp and Brevo also exist, but HubSpot stands out because it integrates seamlessly with sales and marketing systems, giving you one dashboard to manage customer relationships and campaigns.
For small businesses, this means you can dip your toes into email marketing without the risk of big upfront costs.
Step-by-Step: Launch Your First HubSpot Email Campaign
Before you start, complete these quick checks:
- You can log in to HubSpot and see the
Marketing menu.
- Your business address is ready for your email footer. This is required for compliance.
- Your sending domain is set up or you will use HubSpot’s shared sending. If possible, connect your domain for better deliverability.
1) Load Your Contacts into HubSpot
A. Prep your CSV
Create a simple spreadsheet with a header row. Common columns:
- Email (required)
- First Name
- Last Name
- Phone Number (optional)
- Company (optional)
- Lifecycle Stage (optional)
- Subscription Status or a consent column if you track it (optional but helpful)
Save as CSV. Make sure there are no empty header cells and no extra tabs in the file name.
B. Import the file
- In HubSpot, go to
Contacts.
- Click
Import.
- Choose
Start an import.
- Select
File from computer then
One file and
One object.
- Choose
Contacts and upload your CSV.
C. Map your fields
- HubSpot will auto-match your columns to contact properties.
- Confirm each match. For anything it does not recognize, choose an existing property or click
Create a new property.
- If you are on a plan that uses
marketing contacts, select the option to
set imported contacts as marketing so you can email them.
- Choose whether to
update existing contacts that match on email.
D. Add contacts to a list during import (optional but helpful)
At the end of the import flow, check Add contacts to a list and give the list a clear name like “Newsletter Seed List Sept”.
E. Finish and spot-check
- Click
Finish import.
- Go to
Contacts and filter by
Create date to verify a few records.
- Open a contact record and confirm properties look correct.
Pro tips
- Only import opted-in contacts. Never buy lists.
- Remove obvious role emails like info@ and sales@ if they have not opted in.
- Keep one email per row. Duplicates will cause headaches later.
2) Configure Email Basics in Settings (one time setup)
Doing this now prevents failed sends later.
A. Create at least one subscription type
- Go to Settings (gear icon).
- Open
Marketing then
Email then
Subscriptions.
- Create a type such as
Marketing Information with a short description. You will select this type when you send.
B. Set from name, from address, and reply-to
- In Settings > Marketing > Email > Configuration, set your default From name and From address.
- Set a
Reply-to address that a human checks. Marketing replies can turn into sales.
C. Connect your email sending domain (recommended)
- Go to Settings > Website > Domains.
- Click
Connect a domain then choose
Email Sending.
- Follow the steps to add DNS records at your domain host.
- Return to HubSpot and confirm the status reads
Connected.
D. Turn on tracking
- Go to Settings > Marketing > Email > Tracking.
- Enable click tracking.
Optionally enable UTM parameters and set a default
Campaign name, for example “Newsletter”.
3) Create Your First Email
A. Open the email tool
- Go to Marketing > Email.
- Click
Create email and choose
Regular.
B. Choose a template
Pick a simple layout with one main column. Fewer sections means fewer rendering issues. You can style your header and footer later.
C. Set the envelope
In the Settings tab of the email editor:
- From name and
From address: confirm the defaults.
- Reply-to: use a monitored inbox.
- Subject line: write a clear promise. Keep it under 45-55 characters.
- Preview text: add a benefit-driven sentence that expands on the subject.
D. Build the content
In the Content tab:
- Add a headline that states the value, not the feature.
- Write a short intro paragraph. Aim for 2 to 3 sentences.
- Add your primary
call-to-action button. Link to one page only. Name the button with a verb, for example “Get the guide”.
- Add one support block if needed: a benefit list, a testimonial, or a single image.
- Add
alt text for images. Keep images under 1 MB and a max width of 600 to 700 px.
- Insert
personalization where it feels natural. Click into a text module, choose
Personalize, then add First name. Example: “Hi {{ contact.firstname }}, here is…”
- Select the
Subscription type you created earlier, for example
Marketing Information.
Avoid attachments. Link to a landing page or a document instead.
E. QA and compliance
- Click Preview to view desktop and mobile.
- Click
Send test email to yourself and one teammate.
- Check that the footer contains your business address and an unsubscribe link. HubSpot inserts this automatically when the right subscription type is set.
4) Choose Your Audience and Send
A. Build a clean send list
If you did not add contacts to a list during import:
- Go to
Contacts > Lists > Create list.
- Choose
Active list.
- Add filters such as:
- Contact property >
Lifecycle stage is
Lead or
Subscriber.
- Marketing email status is
Not unsubscribed.
- Email hard bounce reason is
Unknown or
None.
- Name it clearly, for example “Newsletter Eligible”. Save.
B. Select recipients and exclusions
Back in your email:
- Click
Send or schedule.
- Under
Recipients, choose your list.
- Under
Don’t send to, add any suppression list. Add
Unengaged contacts if your account shows that toggle. This helps deliverability.
C. Schedule the send
- Choose Send now or Schedule for later.
- Pick a time in your audience’s primary time zone.
- Keep the schedule simple for your first send. You can test send times later.
D. Final checks
- Run Link validation in the editor if available.
- Confirm the
Subscription type and
From address one more time.
- Click Send or Schedule.
5) Track Results and Optimize
A. Find your performance report
- Go to Marketing > Email.
- Open your email and click the
Performance tab.
Review:
- Open rate and
unique opens.
- Click rate and
top clicked links.
- Recipients tab for unsubscribes and bounces.
B. Build quick follow-up lists
Turn engagement into action:
- Go to
Contacts > Lists > Create list.
- Active list criteria ideas:
- Marketing emails >
Contact clicked link in
[Your Email Name].
- Marketing emails >
Contact opened
[Your Email Name] but did not click.
- Name them “Clicked [Email Name]” and “Opened No Click [Email Name]”.
Use these lists to:
- Send a short follow-up with a different angle to
Opened No Click.
- Send a related offer or scheduling link to
Clicked.
C. Log replies and handoffs
- Make sure the reply-to inbox is monitored or connected to Conversations.
- Create tasks for sales if your email was a hand-raiser piece. You can bulk create tasks from a list in
Contacts.
D. Keep deliverability healthy
- Remove hard bounces after each send.
- If you see high spam complaints, reduce frequency and tighten your list filters.
- Warm up a new sending domain by starting with your most engaged contacts.
E. Improve with simple tests
If A/B testing is available on your plan:
- Test
subject lines first.
- Next, test
preview text and
button copy.
- Keep one variable per test for clean results.
6) Common Fixes When Something Breaks
- Import failed: Re-save as CSV, remove blank columns, and ensure every row has an email.
- Personalization shows blank: Add a
fallback in the token settings, for example “there”.
- Email will not send: Check that you selected a
Subscription type and that your footer has a valid address.
- Images look fuzzy: Export at 2x the displayed size with a max width near 1200 px, then let HubSpot scale down.
Bringing It All Together
AI tools make content creation easy. Email marketing makes sure that content gets seen. By starting small with free tools like HubSpot CRM, you can load contacts, design emails, and track results without needing an advanced background in digital marketing.
Whether you’re nurturing leads, promoting a service, or educating your audience, email marketing gives you control and consistency that other channels can’t match.
Next Steps
If you’re ready to put email marketing into practice, here are two great ways to take action today:


